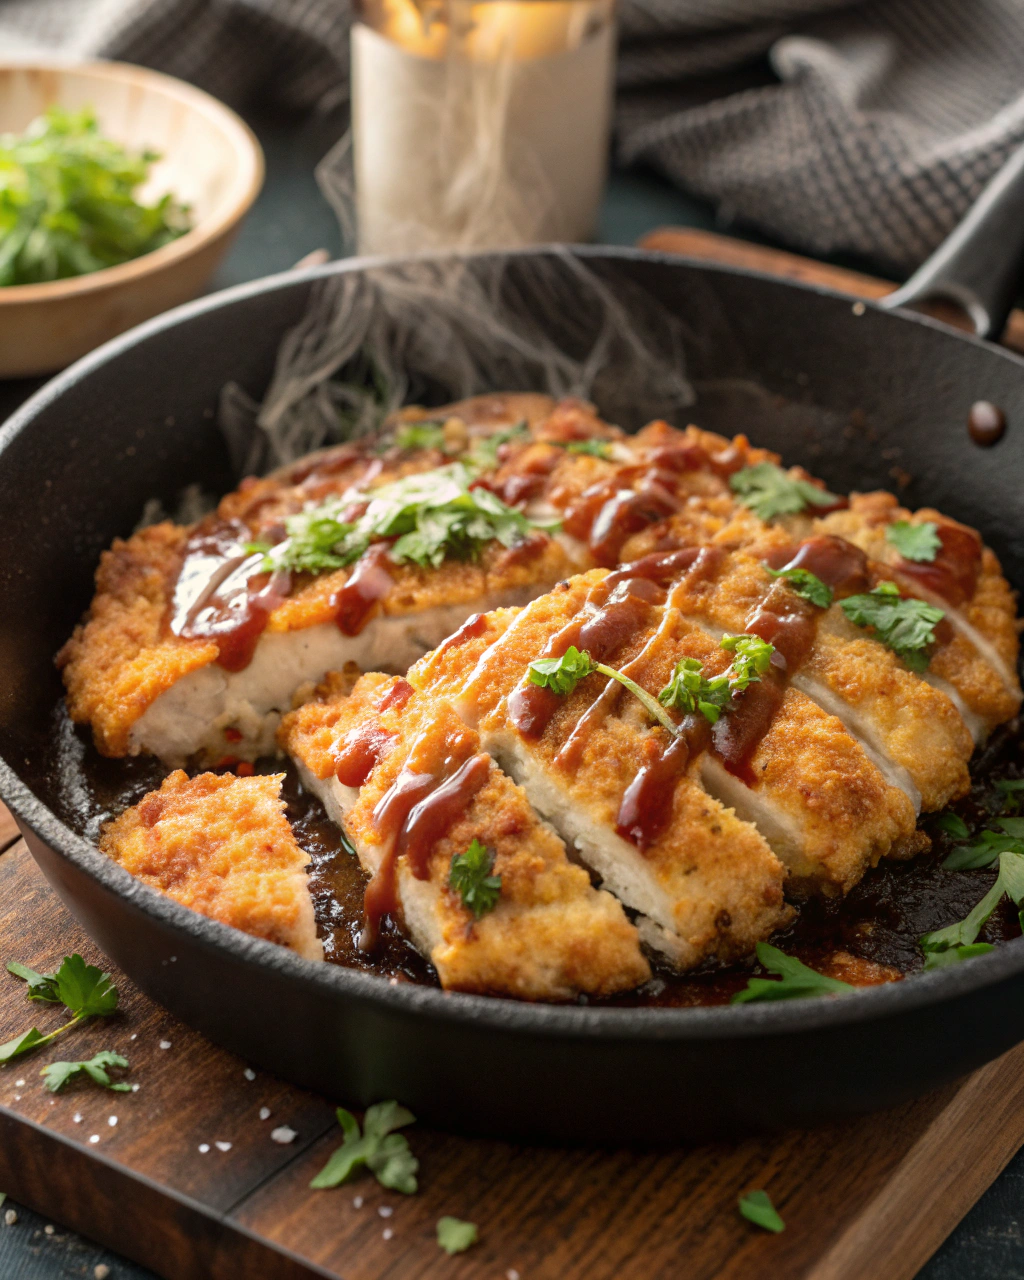
Okay, picture this: I once tried to impress a date with a fussy restaurant-style chicken katsu and nearly set off the smoke alarm. I learned my lesson—crispy breading doesn’t need theatrics, just a hot pan, a confident hand, and a little patience. This One-Pan Chicken Katsu keeps things simple: one skillet, minimal dishes, and that satisfying crunch that makes everyone go quiet for a second before diving in. It’s my go-to weeknight showstopper—golden, crunchy edges, steamy, juicy inside, and a sticky-sweet sauce that you’ll want to drizzle on everything (including your toast, don’t judge me).
Quick Facts
Yield: Serves 4
Prep Time:20 minutes
Cook Time:15 minutes
Total Time:35 minutes
Why This Recipe is Awesome
This version of chicken katsu keeps the flavor and crunch you love while using only one pan—less cleanup, more dinner vibes. You get a satisfyingly crunchy crust from the panko, a juicy interior from well-pounded chicken, and a tangy-sweet sauce that ties everything together. It’s comfort food with a little oomph: crispy, savory, and slightly sticky in the best possible way. Honestly, it’s so easy that your oven can’t mess it up—only a skillet and a confident flip required.
I start by trimming any fat and then placing each breast between two sheets of plastic wrap. I pound them with a mallet or the flat side of a meat tenderizer until they reach an even thickness — about 1/2 inch. That gives you even cooking and a tender bite. Season both sides with salt, pepper, and a little garlic powder if you like. You’ll hear the plastic rustle and feel the meat loosen up — oddly satisfying, promise.
Step 2:
Set up a three-station breading line: one shallow bowl with the flour, one with beaten eggs and milk, and one with the panko. Dredge each chicken piece in flour (shake off excess), dunk into the egg wash, then press into panko until well-coated. Pressing helps the panko stick so you get that giant crunch. If your panko looks powdery, pinch it in your hands to break up large flakes — they brown more evenly.
Step 3:
Heat a large skillet over medium-high heat. Add the vegetable oil and the butter if using; when the oil shimmers and the butter foams but doesn’t burn, gently lay in the cutlets. You should hear a lively sizzle — that’s the sound of crispiness forming. Cook undisturbed for 3–4 minutes until the edges look golden and the bottom releases easily, then flip and cook another 3–4 minutes. Adjust heat to keep a steady sizzle without smoking.
Step 4:
Once both sides hit that lovely deep golden-brown, transfer the chicken to a wire rack set over a baking sheet to rest for 5 minutes. Resting keeps the juices inside and maintains the crisp crust. Check internal temp with an instant-read thermometer — you want 165°F in the thickest part.
Step 5:
Whisk the sauce ingredients together in a small bowl: ketchup, Worcestershire, soy sauce, and brown sugar. Taste and tweak: more sugar for sweet, more Worcestershire for tang. Slice the katsu into strips, drizzle with a little sauce (or serve on the side for dunking), sprinkle sliced green onions and sesame seeds, and finish with a squeeze of lemon. The first bite should hit with a crunch, then yield to a warm, juicy center and that sticky tang — music in the mouth.
Pro Tips
Pat the chicken very dry before breading so the flour sticks — wet meat equals soggy breading.
Keep the oil at a steady shimmer; too cool and the crust absorbs oil, too hot and the outside burns before the middle cooks.
Use a wire rack to rest the cooked cutlets so steam doesn’t soften the crust.
If you want extra flavor, stir a teaspoon of sesame oil into the sauce — it adds a toasty note without overpowering.
Common Mistakes to Avoid
Skipping preheating: Classic rookie move. It changes texture and bake time.
Overmixing: Leads to dense or chewy results. Mix until just combined.
Guessing cook time: Always use visual cues or a timer, not just vibes.
Overcrowding pans: Give your food some breathing room to crisp properly.
Alternatives & Substitutions
Tofu: Use extra-firm tofu pressed dry, slice and bread the same way for a vegetarian katsu. Texture gets slightly softer but still delicious.
Chicken thighs: Use boneless thighs for richer flavor; reduce cook time slightly and watch for 165°F.
Gluten-free: Swap all-purpose flour for rice flour and use gluten-free panko or crushed rice cereal.
Dairy-free: Skip the butter and use a neutral oil; the flavor stays great and you keep it dairy-free.
Variations & Tips
Spicy katsu: Mix 1 tsp cayenne into the panko or drizzle Sriracha into the sauce.
Honey-soy glaze: Replace the ketchup base with 3 tbsp soy sauce and 2 tbsp honey for a sticky, sweet finish.
Baked version: Spray with oil and bake at 425°F for 15–18 minutes, flipping halfway; crispness decreases slightly.
Kid-friendly: Cut strips into “katsu fingers” and serve with a small dipping bowl of sauce.
Crunch boost: Mix crushed potato chips or cornflakes into panko for extra texture.
Fusion twist: Top with a fried egg and a drizzle of spicy mayo for a katsu donburi vibe.
FAQ (Frequently Asked Questions)
Can I make this ahead of time?
Yes! Bread the cutlets and store them uncovered in the fridge for up to 24 hours, or fully cook and cool, then refrigerate for 2–3 days. Reheat in a 400°F oven on a wire rack for 8–10 minutes to revive crispness.
Can I double the recipe?
Sure thing. Use two pans or cook in batches so you don’t overcrowd and lose crispness; timing per cutlet stays the same.
Can I substitute butter with oil?
Technically yes, but you’ll miss that buttery magic. Use ¾ the amount of oil for a similar mouthfeel and flavor.
How do I know it’s done?
Look for a deep golden crust and check the center with an instant-read thermometer — it should reach 165°F. The meat should feel firm but still springy.
What if I don’t have ingredient X?
No panic: swap panko for crushed cornflakes or plain breadcrumbs, and swap Worcestershire with a splash of soy sauce plus a pinch of vinegar if needed.
How I Like to Serve It
I usually serve this with steamed rice, a simple shredded cabbage salad dressed with rice vinegar, and extra sauce on the side for dunking. For a casual dinner, I set it on a platter and let everyone slice their own — it feels celebratory. Pair it with an ice-cold lager or a crisp white wine for a weeknight upgrade. In summer, swap the warm sides for a bright carrot slaw and some grilled corn.
Notes
Store leftovers in an airtight container in the fridge for up to 3 days. Re-crisp in a 400°F oven for best results.
Safe internal temperature for chicken: 165°F.
Final Thoughts
Closing: You’ve got this—one hot pan, a few humble ingredients, and a seriously impressive dinner. Now go impress someone — or just yourself — with your homemade masterpiece!
Hi, I’m Lina, the creator of Lina Easy Recipes.Cooking has always been my passion, and I love sharing simple, homemade dishes that anyone can prepare.
Spread the love
Love What You See?
Join me on Pinterest and Facebook for daily cooking inspiration, new recipe ideas, and behind-the-scenes kitchen stories. Let’s cook something wonderful together!