
Chef’s secret time: I didn’t always tell people how easy weeknight dinners could look this good. I stumbled onto this one-pan trick when I burned pasta twice in one week and needed a fast, forgiving dinner that still felt fancy. The real secret? A hot pan, a little butter, and big garlic flavor that makes the whole kitchen smell like a restaurant. You’ll hear the satisfying sizzle, see the green beans go bright and glossy, and taste juicy chicken with browned edges that practically beg for mashed potatoes or crusty bread. I’ll show you the simple steps, timing cues, and tiny hacks I use so you nail it the first time — no culinary degree required.
Quick Facts
- Yield: Serves 4
- Prep Time: 10 minutes
- Cook Time: 20–25 minutes
- Total Time: 30–35 minutes
Why This Recipe is Awesome
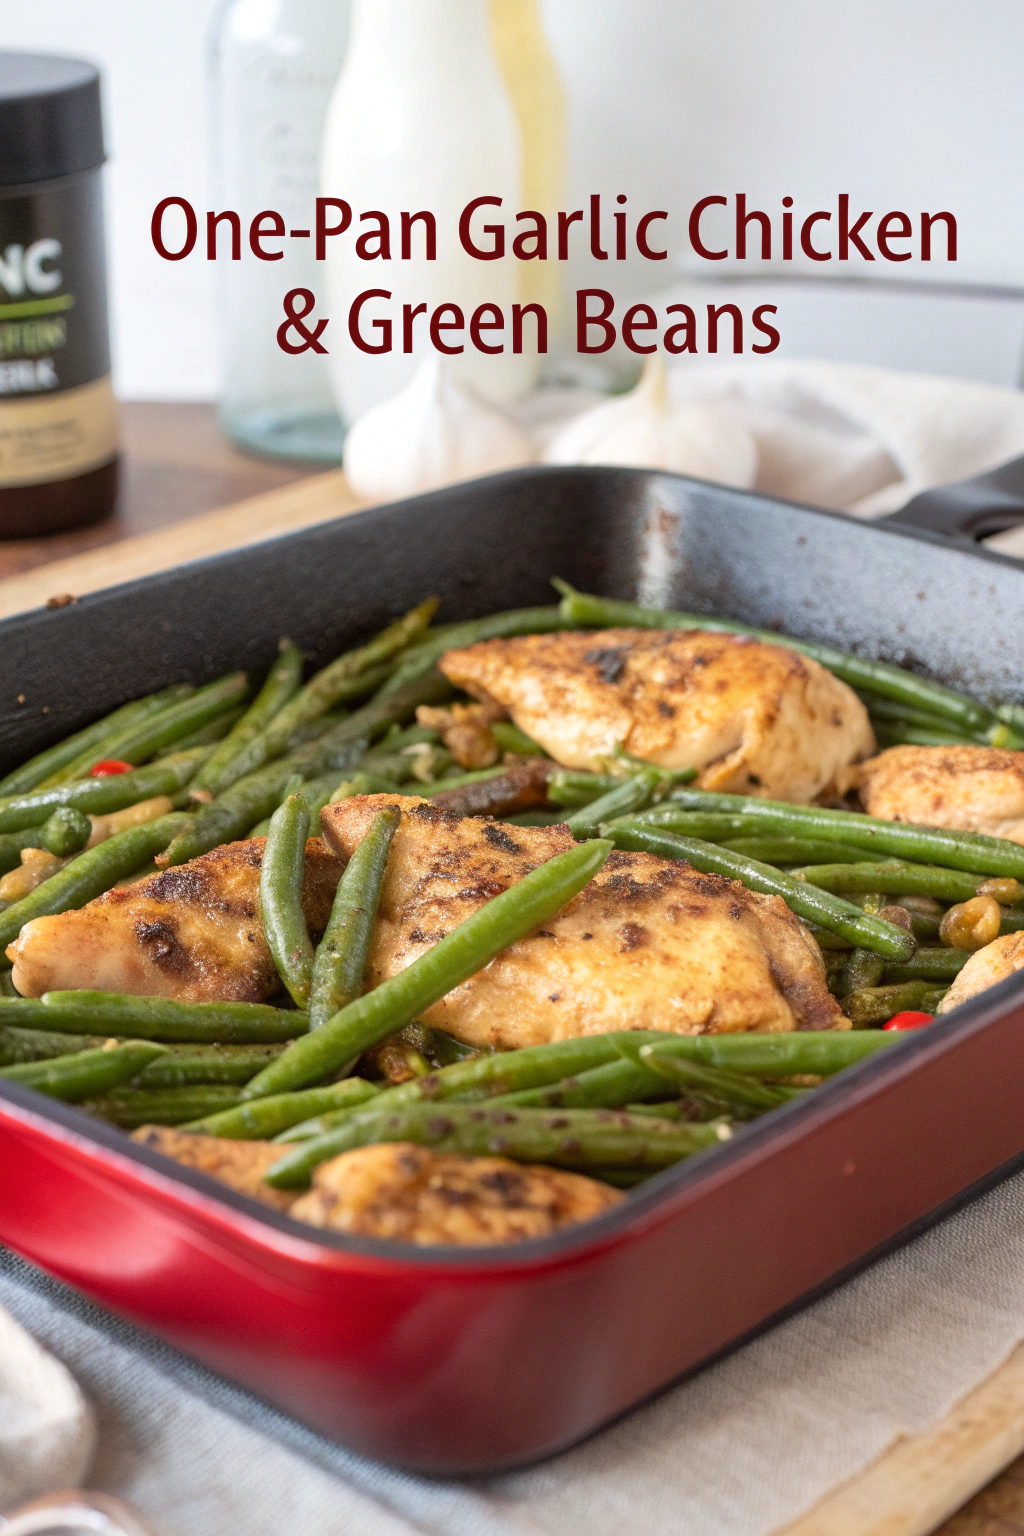
This recipe gives you juicy, golden-browned chicken and crisp-tender green beans all in one skillet — minimal cleanup, maximum flavor. The sauce clings to everything: garlicky, lemony, and buttery (yes, buttery). It hits salty, bright, and savory notes with a little crunch from the beans. It’s so easy even your oven can’t mess it up — and it looks like you spent way longer on it than you did.
Ingredients
For the Main Dish:
- 1½ pounds boneless, skinless chicken thighs (about 6 small thighs) — you can use breasts, see notes
- 1 pound fresh green beans, trimmed
- 2 tbsp olive oil
- 2 tbsp unsalted butter
- 4 cloves garlic, minced (about 2 tbsp)
- 1 tsp kosher salt (adjust to taste)
- ½ tsp black pepper
- ½ tsp crushed red pepper flakes (optional, for heat)
- 1 lemon, zested and juiced (about 2 tbsp juice)
- ¼ cup low-sodium chicken broth or water
- 2 tbsp chopped fresh parsley (optional, for garnish)
For the Sauce / Garnish:
- 1 tbsp butter (extra, to finish if you like it richer)
- Extra lemon wedges, for serving
How I Make It
Step 1:
Preheat your oven to 425°F if you want the final crisp, but I usually finish on the stovetop for speed. Pat the chicken thighs dry with paper towels — dryness equals better browning. Season both sides with salt and pepper. Heat a large oven-safe skillet over medium-high heat and add 1 tbsp olive oil. When the oil shimmers, lay the chicken in skin-side down (you should hear a confident sizzle). Let it sear undisturbed for about 4–5 minutes until the edges turn golden-brown.
Step 2:
Flip the chicken and move it to one side of the pan. Add the remaining 1 tbsp olive oil and 2 tbsp butter to the empty side. Toss in the green beans and stir so they coat in the butter and oil. Add the minced garlic, and stir for about 30–45 seconds until everything smells gloriously garlicky — don’t let the garlic burn; a quick sizzle is all it needs.
Step 3:
Pour in the ¼ cup chicken broth and the lemon juice. Scrape any browned bits off the bottom with a wooden spoon — those bits pack flavor. If you’re finishing in the oven, transfer the skillet to the oven and roast for 8–10 minutes. If you stay on the stovetop, cover and cook on medium-low for about 8–10 minutes. Listen for gentle bubbling and watch the green beans brighten to a vibrant green.
Step 4:
Check doneness: insert an instant-read thermometer into the thickest part of a thigh — aim for 165°F. Look for golden edges on the chicken and tender yet slightly crisp green beans. If the chicken needs more color, pop it under a broiler for 1–2 minutes, watching closely so it doesn’t burn. The kitchen should smell tangy-garlic-butter — irresistible.
Step 5:
Remove the pan from heat, add the extra 1 tbsp butter and stir it into the pan juices for a silky finish. Sprinkle with lemon zest and chopped parsley. Let the chicken rest for 3–4 minutes so the juices redistribute. Serve with lemon wedges and use a spoon to drizzle the buttery sauce over everything.
Pro Tips
- Room temperature chicken sears better — let it sit out for 10–15 minutes before cooking.
- If you don’t have an oven-safe skillet, transfer to a baking dish to finish under the broiler.
- For larger chicken breasts, increase cook time and check temperature frequently to avoid drying out.
- Love deep color? Pat the chicken extra dry and don’t overcrowd the pan — work in batches if needed.
Common Mistakes to Avoid
- Skipping preheating: Classic rookie move. It changes texture and bake time.
- Overmixing: Leads to dense or chewy results. Mix until just combined.
- Guessing cook time: Always use visual cues or a timer, not just vibes.
- Overcrowding pans: Give your food some breathing room to crisp properly.
Alternatives & Substitutions
- Swap chicken for firm tofu (press and sear) for a vegetarian option — expect a firmer texture and milder flavor.
- Use Greek yogurt (thin with a splash of water) instead of extra butter for a tangy, lower-fat finish — it won’t brown the same way.
- For dairy-free, skip the butter and use an extra tablespoon of olive oil and a squeeze more lemon for brightness.
- Gluten-free? This recipe already fits — just double-check your chicken broth.
Variations & Tips
- Spicy: Add 1 tsp smoked paprika and ½ tsp cayenne to the chicken seasoning for a smoky kick.
- Kid-friendly: Omit crushed red pepper and use a splash of honey in the pan sauce for a sweet glaze.
- Mediterranean twist: Add sliced olives and sun-dried tomatoes before finishing.
- Herb-forward: Swap parsley for thyme or rosemary for a fragrant profile.
- One-skillet pasta: After cooking, toss in 8 oz cooked pasta and a splash more broth for a saucy one-pot meal.
- Sheet-pan version: Roast at 425°F for 18–22 minutes on a rimmed baking sheet for an easier cleanup twist.
FAQ (Frequently Asked Questions)
- Can I make this ahead of time?
- Yes! Cook everything through, cool, and store in an airtight container for up to 3 days. Reheat gently in a skillet over medium-low heat with a splash of broth to revive the sauce and avoid drying the chicken.
- Can I double the recipe?
- Sure thing. Use two pans or a very large rimmed baking sheet to avoid overcrowding. Cooking time may increase slightly; rely on the 165°F thermometer and visual cues.
- Can I substitute butter with oil?
- Technically yes, but you’ll miss that buttery magic. Use ¾ the amount of oil (so 1½ tbsp oil if swapping 2 tbsp butter) and finish with a squeeze of lemon to round flavors.
- How do I know it’s done?
- Look for golden edges, clear pan juices, and green beans that hold a slight snap. The sure sign: an instant-read thermometer at 165°F in the thickest part of the chicken.
- What if I don’t have ingredient X?
- No panic — use pantry swaps. No fresh lemon? Use 1 tbsp bottled lemon juice and a pinch of zest substitute like a tiny splash of vinegar plus extra butter.
How I Like to Serve It
I love this dish with creamy mashed potatoes or warm crusty bread to soak up the garlicky sauce. It also pairs beautifully with a simple quinoa salad for a lighter meal. For drinks, a chilled glass of Sauvignon Blanc or a crisp lager matches the lemon-butter brightness. I make it for weeknights when I want comfort without the fuss, and it also shines at casual dinners when I want to impress without stress.
Notes
- Store leftovers in an airtight container in the fridge for up to 3 days. Reheat gently with a splash of broth to keep the chicken juicy.
- Safe internal temperature for chicken: 165°F. Use an instant-read thermometer for confidence.
Final Thoughts
Closing: Now go impress someone — or just yourself — with this buttery, garlicky, one-pan wonder. You earned that sizzle.

Hi, I’m Lina, the creator of Lina Easy Recipes.Cooking has always been my passion, and I love sharing simple, homemade dishes that anyone can prepare.
Love What You See?
Join me on Pinterest and Facebook for daily cooking inspiration, new recipe ideas, and behind-the-scenes kitchen stories. Let’s cook something wonderful together!


")
