
I’ll let you in on a tiny kitchen secret: the kind of trick that makes weeknight cooking feel like I just stole a page from a chef’s playbook. When I discovered that I could get glossy, slightly sweet teriyaki sauce, juicy chicken, and perfectly tender rice all from one pan, my dinner routine changed forever. This recipe squeaks open the door to flavor without fuss — just a quick sear, a simmer, and a little patience while the rice soaks up all those savory-sweet juices. If you keep one pot on your stove and one good attitude, you’ll have a weeknight hero ready in under an hour.
Quick Facts
- Yield: Serves 4
- Prep Time: 10 minutes
- Cook Time: 30 minutes
- Total Time: 40 minutes
Why This Recipe is Awesome
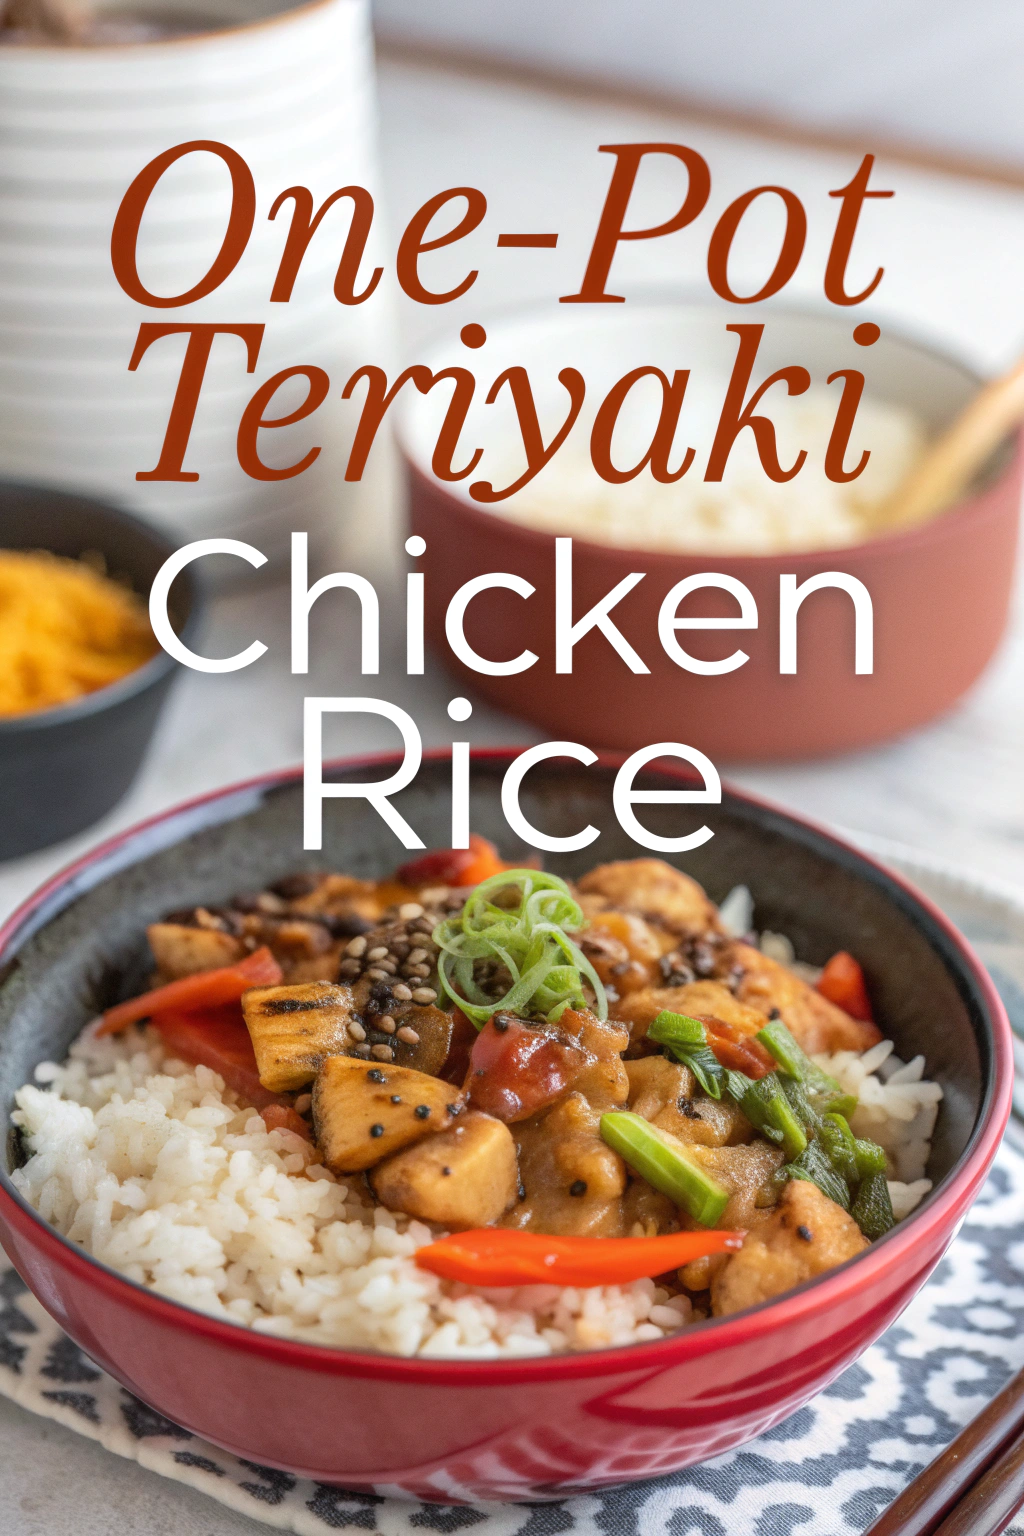
This one-pot teriyaki chicken rice gives you sticky-sweet sauce, tender chunks of chicken, and fluffy rice without a sink full of dishes. The sauce gets glossy and clingy, the chicken gets golden edges, and the rice soaks up everything, tasting like a little bowl of comfort. It’s foolproof, fast, and so flavorful that you’ll surprise yourself — and your dinner guests. Plus, who doesn’t love the sound of a sizzling pan and the smell of ginger and garlic filling the kitchen?
Ingredients
For the Main Dish:
- 1 1/2 lbs boneless, skinless chicken thighs (or breasts, cut into 1-inch pieces)
- 1 1/2 cups long-grain white rice, rinsed until water runs clear
- 2 1/4 cups low-sodium chicken broth
- 1 tbsp vegetable oil (or neutral oil)
- 3 cloves garlic, minced
- 1 tbsp fresh ginger, grated
- 1 cup frozen peas and carrots (or 1 cup diced carrots + 1/2 cup peas)
- 2 green onions, thinly sliced, for garnish
- 1 tbsp toasted sesame seeds, optional garnish
- Salt and pepper to taste
For the Sauce / Garnish (if applicable):
- 1/3 cup low-sodium soy sauce (or tamari for gluten-free)
- 3 tbsp brown sugar
- 1 tbsp honey (or maple syrup)
- 1 tbsp rice vinegar
- 1 tsp sesame oil
- 1 tbsp cornstarch + 2 tbsp cold water (slurry to thicken)
How I Make It
Step 1:
Heat a large heavy-bottomed skillet or Dutch oven over medium-high heat. Add 1 tbsp vegetable oil and swirl until it shimmers. Season the chicken pieces with a pinch of salt and pepper, then add them to the pan in a single layer. Let them sear without moving so you hear that satisfying sizzle and watch the edges turn golden, about 3–4 minutes per side. I like to leave the chicken slightly under-done — it will finish cooking with the rice.
Step 2:
Remove the chicken to a plate while you make the sauce. Lower the heat to medium and add the minced garlic and grated ginger to the pan; stir for about 30 seconds until fragrant and a little toasty. Pour in 1/3 cup soy sauce, 3 tbsp brown sugar, 1 tbsp honey, and 1 tbsp rice vinegar. Stir and scrape browned bits from the pan — that’s where the flavor hides.
Step 3:
Add the rinsed 1 1/2 cups rice to the pan and stir to coat each grain with the sauce. Pour in 2 1/4 cups chicken broth, bring to a simmer, then taste and adjust salt if needed (soy sauce adds salt, so go easy). Nestle the seared chicken pieces back on top of the rice, face-up, and reduce heat to maintain a gentle simmer. Cover and cook undisturbed for 15–18 minutes until the rice looks tender and most of the liquid has absorbed.
Step 4:
Lift the lid and scatter 1 cup frozen peas and carrots over the rice. Check the chicken with an instant-read thermometer; it should reach 165°F in the thickest part. If the rice needs a few more minutes, replace the lid and keep simmering. You’ll see steam rise, hear a faint bubbling, and smell the sweet-savory aroma — cue the dinner hype.
Step 5:
Make the cornstarch slurry (1 tbsp cornstarch + 2 tbsp cold water) and drizzle it into the pan while stirring gently. The sauce will thicken and turn glossy within a minute. Turn off the heat and let the whole pot rest, covered, for 5 minutes. Fluff the rice with a fork, spoon the glossy sauce over everything, and garnish with sliced green onions and toasted sesame seeds. Serve hot and watch everyone go back for seconds.
Pro Tips
- Use chicken thighs for more forgiving, juicier results; they tolerate simmering better than breasts.
- If your rice finishes before the chicken, remove the chicken, keep rice covered off heat, and let residual heat finish the chicken to 165°F.
- Rinse rice until the water runs clear to prevent gummy rice; it helps each grain stay separate and fluffy.
- For a deeper flavor, brown the sugar a little with the garlic and ginger — watch closely so it doesn’t burn.
Common Mistakes to Avoid
- Skipping preheating: Classic rookie move. It changes texture and bake time.
- Overmixing: Leads to dense or chewy results. Mix until just combined.
- Guessing cook time: Always use visual cues or a timer, not just vibes.
- Overcrowding pans: Give your food some breathing room to crisp properly.
Alternatives & Substitutions
- Chicken → Tofu: Press and cube extra-firm tofu, sear until golden. Keeps it vegetarian and adds protein.
- Soy sauce → Tamari: Use tamari for a gluten-free option; flavor stays very similar.
- White rice → Brown rice: Use 1 1/2 cups brown rice and increase broth to 2 3/4 cups; cook ~40–45 minutes. Texture gets nuttier.
- Dairy-free option: This recipe already uses no dairy. For a richer finish, skip butter and use a touch more sesame oil.
Variations & Tips
- Spicy version: Add 1–2 tsp gochujang or a dash of sriracha to the sauce for a chili kick.
- Kid-friendly: Reduce ginger to 1/2 tbsp and honey to 2 tsp for a milder sweetness.
- Veg-forward: Add sliced bell peppers or broccoli florets with the peas for extra color and crunch.
- One-skillet upgrade: Finish under the broiler for 2 minutes to get golden, caramelized chicken tops (watch closely).
- Creative twist: Stir in a handful of chopped pineapple with the peas for a Hawaiian-inspired tang.
FAQ (Frequently Asked Questions)
- Can I make this ahead of time?
- Yes! Cook everything, cool to room temperature, then store in an airtight container in the fridge for up to 3–4 days. Reheat gently on the stove with a splash of broth to loosen the sauce, or microwave covered, stirring halfway.
- Can I double the recipe?
- Sure thing. Use a wider, deeper pot to keep even cooking. You may need an extra 5–10 minutes for the rice to absorb liquid if your pot runs cooler with more volume.
- Can I substitute butter with oil?
- Technically yes, but you’ll miss that buttery magic. Use ¾ the amount of oil if you swap; sesame oil adds nuttiness that mimics richness.
- How do I know it’s done?
- Chicken reaches 165°F internal and rice looks tender with most liquid absorbed. The sauce should coat the rice and chicken and appear glossy.
- What if I don’t have ingredient X?
- No panic. Swap honey for maple syrup or brown sugar, and swap soy sauce for tamari. If you lack fresh ginger, use 1/4 tsp ground ginger.
How I Like to Serve It
I love to serve this with a simple cucumber salad or pickled carrots for brightness. Pour a cold jasmine tea or a light lager to balance the sweet-salty sauce. It makes a cozy weeknight meal and travels well for lunch the next day — I sometimes bring it to potlucks and pretend I slaved all afternoon.
Notes
- Store leftovers in the fridge up to 3–4 days; add a splash of broth when reheating to revive the sauce.
- Safe cooking temp for chicken: 165°F — always check the thickest piece.
Final Thoughts
Closing: Now go impress someone — or just yourself — with your homemade masterpiece!

Hi, I’m Lina, the creator of Lina Easy Recipes.Cooking has always been my passion, and I love sharing simple, homemade dishes that anyone can prepare.
Love What You See?
Join me on Pinterest and Facebook for daily cooking inspiration, new recipe ideas, and behind-the-scenes kitchen stories. Let’s cook something wonderful together!


