
Onion Rings So Crispy They Crunch Loudly
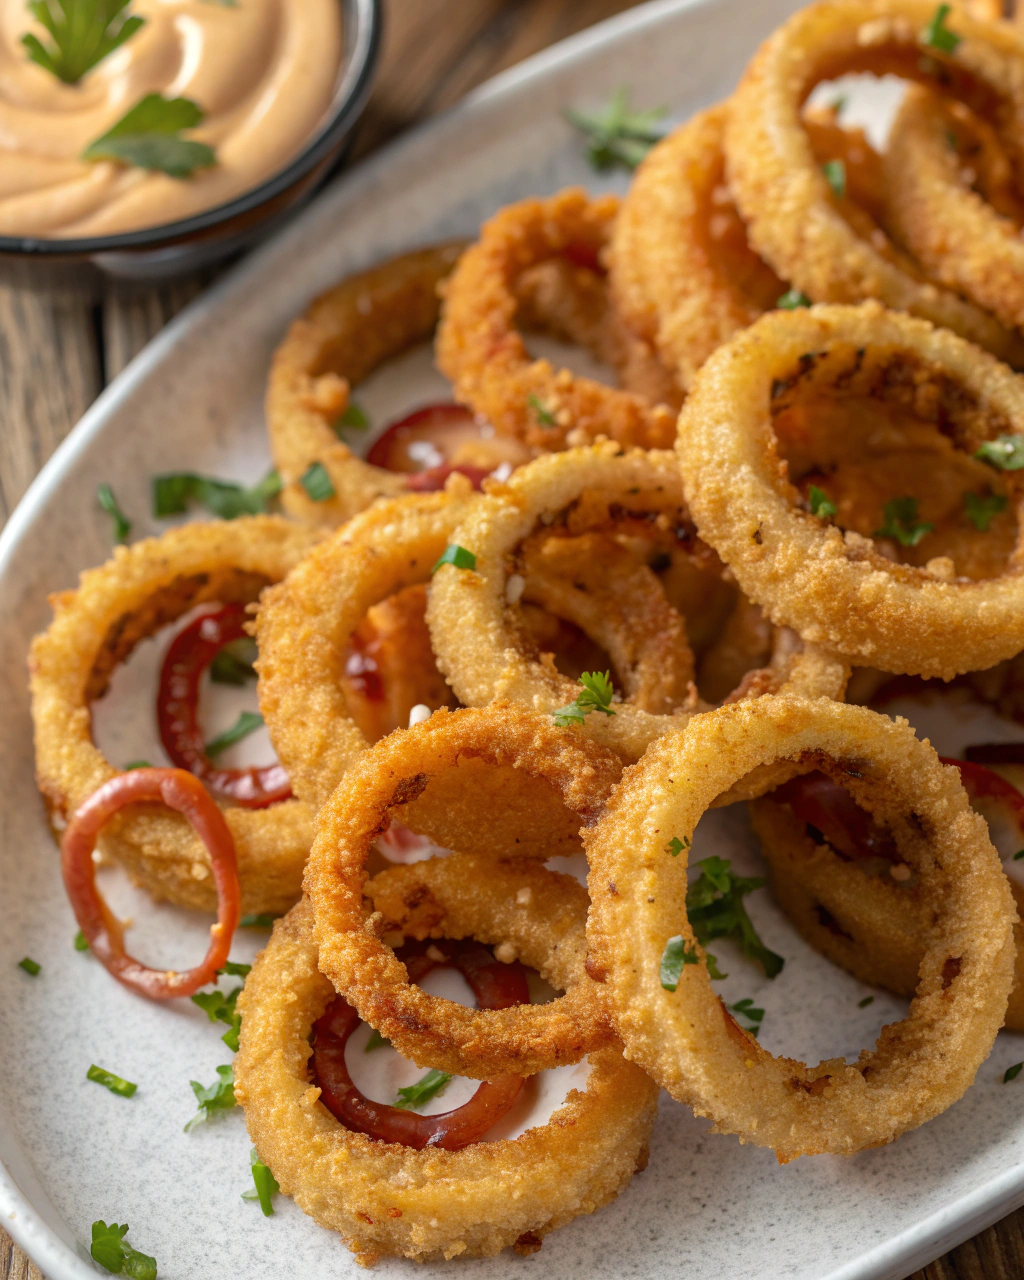
Alright, let me tell you—the first time I nailed these onion rings, the crunch was so loud it practically startled the dog! Seriously, these aren’t your average soft, soggy rings; they’re packed with that irresistible golden crisp that screams “deep-fried goodness.” The smell of sizzling onions and batter fills the kitchen, and that crackling sound when you bite in? Pure satisfaction. I’ve tweaked this recipe over time to perfection and can’t wait for you to try it because getting that perfect crunch at home is absolutely doable. Plus, I’ll share my top tricks to keep the batter crisp and the onions sweet and tender inside. Ready to turn your kitchen into the neighborhood’s new fry joint?
Quick Facts
- Yield: Serves 4
- Prep Time: 20 minutes
- Cook Time: 10 minutes
- Total Time: 30 minutes
Ingredients
For the Main Dish:
- 2 large yellow onions
- 1 cup all-purpose flour, plus extra for dredging
- 1 tsp baking powder
- 1 tsp salt
- 1/2 tsp black pepper
- 1 cup buttermilk
- 1 large egg
- 1 1/2 cups panko breadcrumbs (for extra crunch!)
- Vegetable oil, for frying (about 4 cups)
For the Sauce / Garnish (Optional):
- 1/2 cup mayonnaise
- 1 tbsp ketchup
- 1 tsp smoked paprika
- 1 tsp lemon juice
How I Make It
Step 1:
Start by peeling your onions and cutting them into 1/2-inch thick rings. Gently separate each ring from the onion layers. Pat them dry with paper towels—this helps the batter stick better and keeps everything nice and crisp.
Step 2:
In a shallow bowl, mix the flour, baking powder, salt, and pepper. In another bowl, whisk together the buttermilk and egg until smooth. Set your panko breadcrumbs in a third bowl for easy access.
Step 3:
Dredge each onion ring lightly in flour and shake off the excess. Then dip it into the buttermilk-egg mixture, letting the excess drip back into the bowl before pressing it firmly into the panko breadcrumbs for a thick, crunchy coating. Lay them on a wire rack to rest while you heat the oil.
Step 4:
Heat your vegetable oil in a deep frying pan or Dutch oven to 350°F. Use a thermometer—it’s way easier to get the perfect temp and avoid greasy or burnt onion rings.
Step 5:
Fry the rings in batches, carefully lowering them into the hot oil. Don’t overcrowd the pan! Flip once after about 2 minutes when the bottom is golden brown. Fry another 1-2 minutes until deeply golden and crispy. Remove with a slotted spoon and drain on paper towels.
Step 6:
If you want to take these up a notch, whip up the quick sauce: mix mayonnaise, ketchup, smoked paprika, and lemon juice. It’s the perfect tangy dip that balances out the sweetness of the onions. Serve warm and get ready for that satisfying crunch!
Variations & Tips
- Add a pinch of cayenne pepper to the batter for a little heat.
- Try using sweet onions (like Vidalia) for a milder flavor.
- For a gluten-free option, substitute the flour with a gluten-free blend and use gluten-free panko.
- Double coat your rings (flour → batter → panko → batter → panko) for an extra thick crust.
- Use an oil with a high smoke point like peanut or canola for better frying results.
- Keep fried onion rings warm on a wire rack set inside a baking sheet in a 200°F oven until all batches are done.
How I Like to Serve It
I love serving these crunchy onion rings as a side at weekend BBQs or movie nights. They’re perfect dipped in ketchup or my smoky mayo sauce, and they also make a killer topping for burgers or sandwiches. During football season, these become my go-to crispy crowd-pleaser that disappears fast!
Notes
- Store leftover rings in an airtight container and reheat in the oven at 375°F for 5-7 minutes to bring back the crunch.
- You can swap buttermilk for regular milk mixed with 1 tbsp vinegar or lemon juice if you’re out of buttermilk.
Closing: Once you get the hang of the batter and frying temperature, these onion rings will become your favorite homemade crunchy treat every time.

Hi, I’m Lina, the creator of Lina Easy Recipes.Cooking has always been my passion, and I love sharing simple, homemade dishes that anyone can prepare.
Love What You See?
Join me on Pinterest and Facebook for daily cooking inspiration, new recipe ideas, and behind-the-scenes kitchen stories. Let’s cook something wonderful together!


