
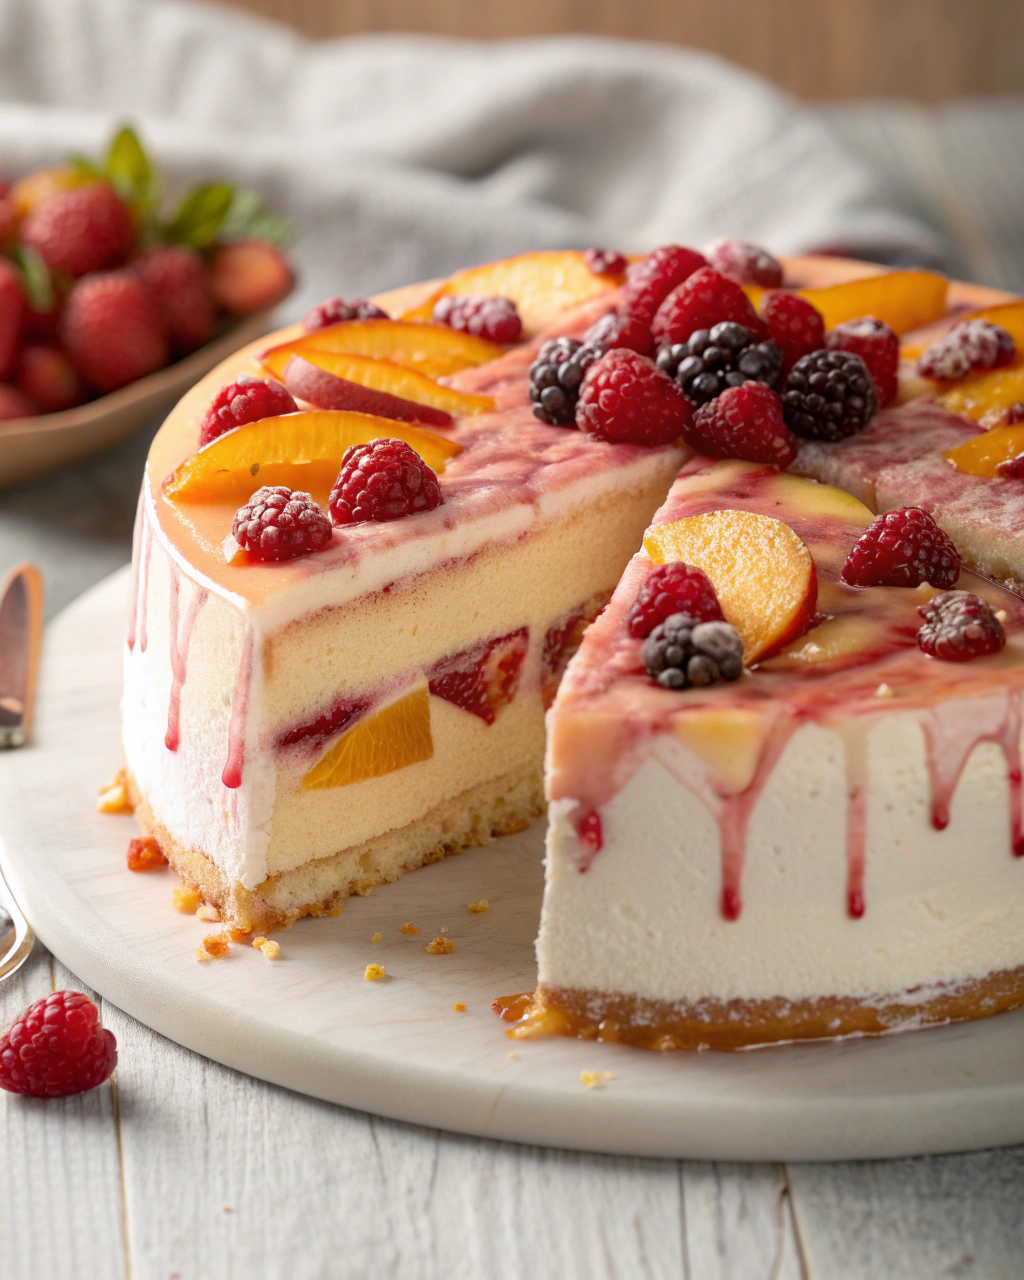
Peach Melba Ice Cream Cake
Alright, I have a confession—this Peach Melba Ice Cream Cake is basically my all-time favorite summer treat, and it’s because it instantly takes me back to those slow, sun-drenched afternoons at my grandma’s house. She’d always have fresh peaches from the farmer’s market, and one dessert she made felt like a little bit of magic: layered ice cream with juicy peaches and a swirl of raspberry sauce. It’s cool, creamy, and just the right mix of fruity sweetness and velvety smoothness. If you love the idea of a no-bake dessert that’s fancy enough to impress but simple enough for a lazy weekend, you’re in for a real treat. Plus, I’ll share all my tips so your cake turns out perfectly every time!
Quick Facts
- Yield: Serves 8
- Prep Time: 25 minutes
- Cook Time: 0 minutes (perfect for no-bake lovers!)
- Total Time: 5 hours 25 minutes (includes freezing)
Ingredients
For the Main Dish:
- 1 1/2 cups vanilla ice cream, softened
- 1 1/2 cups peach ice cream, softened (or peach sorbet if preferred)
- 3 ripe peaches, peeled and sliced
- 1 cup raspberries (fresh or thawed if frozen)
- 1/4 cup granulated sugar
- 1 tbsp lemon juice
- 1 1/2 cups crushed vanilla wafers or digestive biscuits
- 3 tbsp unsalted butter, melted
For the Raspberry Sauce:
- 1 cup raspberries
- 2 tbsp sugar
- 1 tbsp water
- 1 tsp lemon juice
How I Make It
Step 1:
First, let’s make the raspberry sauce so it has time to cool and thicken. In a small saucepan, combine 1 cup raspberries, 2 tbsp sugar, 1 tbsp water, and 1 tsp lemon juice. Bring it to a gentle simmer over medium heat, stirring occasionally, until the berries break down—about 5 minutes. Strain out the seeds by pressing through a fine mesh sieve. Set the smooth sauce aside to cool.
Step 2:
Now, toss the sliced peaches with 1/4 cup sugar and 1 tbsp lemon juice in a bowl. Let them sit while you prepare everything else; this softens them up and brings out that juicy sweetness.
Step 3:
Mix the crushed vanilla wafers with melted butter until the crumbs feel like sandy wet sand. Press this mixture firmly into the bottom of a 9-inch springform pan or cake pan with removable sides. This makes a crisp, buttery base that holds the layers beautifully.
Step 4:
Spoon the softened vanilla ice cream evenly over the crust. Smooth the top with a spatula. Then layer half of the marinated peaches, spreading gently. Follow with a thin drizzle of the raspberry sauce you made earlier (reserve some for garnish later).
Step 5:
Next, add the softened peach ice cream on top, smoothing it out carefully. Top this with the rest of your peaches and another generous drizzle of the raspberry sauce.
Step 6:
Cover the cake tightly with plastic wrap and freeze it for at least 5 hours, or overnight if you’re planning ahead. When you’re ready to serve, let it sit for about 10 minutes at room temperature before slicing so it cuts cleanly.
Variations & Tips
- Use store-bought peach or vanilla sorbet if you prefer a dairy-free version.
- Swap vanilla wafers for graham crackers or almond biscotti for different textures.
- For extra crunch, sprinkle toasted sliced almonds between layers.
- If peaches aren’t in season, frozen thawed peaches work just fine.
- Play with the berries—blackberries or blueberries in the sauce add a fun twist.
How I Like to Serve It
This ice cream cake is a showstopper at summer BBQs or birthday parties. I love adding a sprig of fresh mint and a few whole raspberries on top for a pretty touch. It’s also perfect after a leisurely brunch or as a cool-down treat on a hot afternoon—just slice, serve, and watch the smiles roll in.
Notes
- Store leftovers covered in the freezer for up to 3 days—let it sit a few minutes before slicing again.
- To soften ice cream faster, leave it out at room temp for about 15 minutes before starting.
Closing: This Peach Melba Ice Cream Cake is proof that simple ingredients layered with love can create a dessert that’s always a hit, summer after summer.

Hi, I’m Lina, the creator of Lina Easy Recipes.Cooking has always been my passion, and I love sharing simple, homemade dishes that anyone can prepare.
Love What You See?
Join me on Pinterest and Facebook for daily cooking inspiration, new recipe ideas, and behind-the-scenes kitchen stories. Let’s cook something wonderful together!


