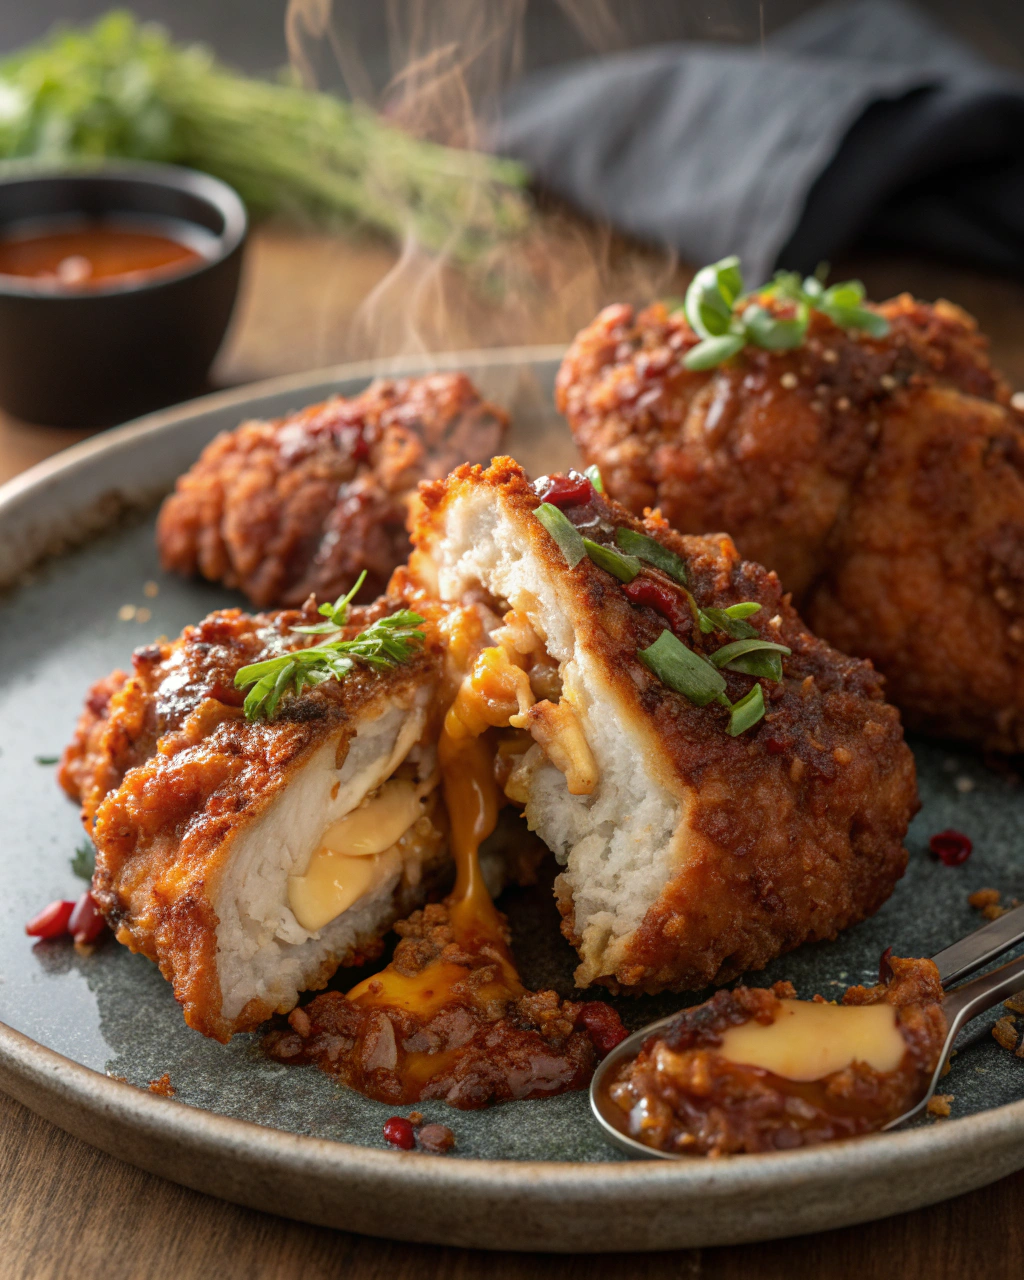
Okay, picture this: I stand at my tiny kitchen counter with a bottle of gochujang in one hand and a napkin-stained childhood memory in the other — because every time I make Korean fried chicken, I hear my aunt’s dramatic gasp of approval. I promise you, this recipe delivers that addictive, crunchy shell and glossy, spicy-sweet sauce without turning your kitchen into a smoke sauna. Expect loud sizzles, bright red sauce that smells of garlic and toasted sesame, and chicken so crisp it practically sings when you bite into it. Let’s get messy and make something worth licking your fingers for.
Quick Facts
- Yield: Serves 4
- Prep Time: 25 minutes
- Cook Time: 25 minutes
- Total Time: 50 minutes
Why This Recipe is Awesome
This version nails the classic Korean double-fry technique so you get a super-crisp exterior and a juicy center. The sauce balances spicy, sweet, and tangy — it clings to every crunchy ridge and glows like a jewel. It’s so easy even your microwave will be jealous. Who doesn’t love a crunchy bite followed by an aromatic garlic-ginger finish?
Ingredients
For the Main Dish:
- 2 lbs chicken wings and drumettes (or boneless chicken thighs cut into 2-inch pieces)
- 1 tbsp kosher salt
- 1 tsp sugar
- 3 garlic cloves, minced
- 1 tsp grated ginger
- 1 cup **buttermilk** or plain yogurt (or 1 cup milk + 1 tbsp vinegar)
- 1 cup **all-purpose flour
- 1 cup **cornstarch**
- 1 tsp baking powder
- 1 tsp garlic powder
- 1 tsp onion powder
- 1 tsp freshly ground black pepper
- Vegetable oil for frying (about 6 cups, enough for a 3–4 inch deep fryer or pot)
- Sesame seeds and thinly sliced green onions for garnish
For the Sauce / Garnish (if applicable):
- 3 tbsp **gochujang** (Korean chili paste)
- 2 tbsp soy sauce
- 3 tbsp honey or brown sugar
- 2 tbsp rice vinegar
- 2 garlic cloves, minced
- 1 tsp grated ginger
- 1 tbsp sesame oil
- 1 tbsp water (to thin, if needed)
How I Make It
Step 1:
I toss the chicken with kosher salt, sugar, minced garlic, grated ginger, and buttermilk. I stir until every piece gets a little bathtime in flavor. Let it sit for at least 15 minutes (up to 1 hour) while you prep the coating — the buttermilk tenderizes and the garlic plays nice with the heat.
Step 2:
In a large bowl I whisk together all-purpose flour, cornstarch, baking powder, and seasonings. I drain the chicken from the buttermilk (no need to dry completely) and dredge each piece so it gets a light, even coat. The cornstarch gives that signature glassy crunch.
Step 3:
Bring your oil to 325°F in a deep pot or thermometer-monitored fryer. I gently lower in half the chicken so the pan doesn’t overcrowd, and I fry until the meat looks cooked through and the coating firms, about 6–8 minutes. Listen for a steady medium sizzle — not a violent roar. I transfer pieces to a rack to rest for 10 minutes. That rest helps steam escape so the second fry crisps even better.
Step 4:
Turn the oil up to 375°F. While it heats, I make the sauce: whisk gochujang, soy sauce, honey, rice vinegar, garlic, ginger, and sesame oil in a small saucepan and simmer for 2–3 minutes until glossy and fragrant. Taste and adjust sweetness. Back to the fryer — I fry the rested pieces for another 2–3 minutes until deeply golden and super-crisp. They should crackle when you bite them.
Step 5:
I toss the hot chicken with the sauce in a large bowl (coat quickly — too much stirring mashes the crust), then sprinkle with toasted sesame seeds and sliced green onions. Serve immediately so you get that contrast between hot, saucy exterior and tender, juicy interior.
Pro Tips
- Use a candy thermometer and keep oil between 325°F (first fry) and 375°F (second fry). Temperature makes the crisp magic happen.
- Don’t overcrowd the pot. Fry in batches and keep finished pieces on a rack, not paper towels — racks keep air circulating so crispness stays.
- If your sauce thickens too fast, add a teaspoon of water at a time to loosen it. The sauce should be glossy and clingy, not syrupy.
- For extra crunch, dust pieces with a little extra cornstarch right before the second fry.
Common Mistakes to Avoid
- Skipping preheating: Classic rookie move. It changes texture and bake time. For frying, skipping oil preheat ruins crispiness.
- Overmixing: Leads to dense or chewy results. Mix until just combined. Handle the chicken gently to keep it tender.
- Guessing cook time: Always use visual cues or a timer, not just vibes. Check for golden edges and clear juices; internal temp should reach 165°F.
- Overcrowding pans: Give your food some breathing room to crisp properly. Crowding drops oil temp and makes soggy chicken.
Alternatives & Substitutions
- Swap chicken with firm tofu or cauliflower florets for a vegetarian option — fry the same way but reduce first fry to 4–5 minutes.
- Use rice flour or a gluten-free flour blend instead of all-purpose to make this gluten-free; texture stays crisp but crumbles slightly differently.
- Omit honey and use maple syrup for a vegan-friendly glaze (also cut the soy or swap with tamari for gluten-free).
- If you lack gochujang, mix 1 tbsp chili paste + 1 tbsp tomato paste + 1 tsp sugar as a quick stand-in; flavor shifts but keeps that spicy-sweet vibe.
Variations & Tips
- Spicy: Add 1 tsp of cayenne to the dry mix and an extra tbsp of gochujang to the sauce.
- Honey-Garlic: Skip gochujang and double the honey with extra garlic for a kid-friendly sticky glaze.
- Soy-Garlic (Non-spicy): Replace gochujang with more soy and a splash of oyster sauce for deep umami.
- Washoku Twist: Finish with a squeeze of lemon and grated yuzu zest for a bright citrus note.
- Oven Shortcut: Bake at 425°F for 25–30 minutes after spraying with oil, then broil 2–3 minutes to crisp (not as crisp as frying).
- Creative twist: Toss some crispy rice cereal into the dredge for an extra-crunch coating — fun and addictive.
FAQ (Frequently Asked Questions)
- Can I make this ahead of time?
- Yes! Prep up to the first fry and refrigerate the blanched pieces for 24 hours. Fry and sauce right before serving for best crispness. Store leftovers in the fridge up to 3 days and reheat in a hot oven or air fryer to revive the crust.
- Can I double the recipe?
- Sure thing. Use a larger pot or fry in more batches so you don’t drop oil temperature. You’ll need more oil but timing per batch stays the same.
- Can I substitute butter with oil?
- Technically yes, but you’ll miss that buttery magic. Use ¾ the amount of oil if a recipe calls for butter — for this fry, stick with neutral vegetable oil.
- How do I know it’s done?
- Look for deep golden color, a crisp shell, and juices that run clear. For safety and juiciness, the internal temperature should read 165°F when tested in the thickest part.
- What if I don’t have ingredient X?
- No panic: swap cornstarch for potato starch or extra flour (texture will be slightly different). If you lack gochujang, use a mix of chili paste and a bit of tomato paste with honey as a backup.
How I Like to Serve It
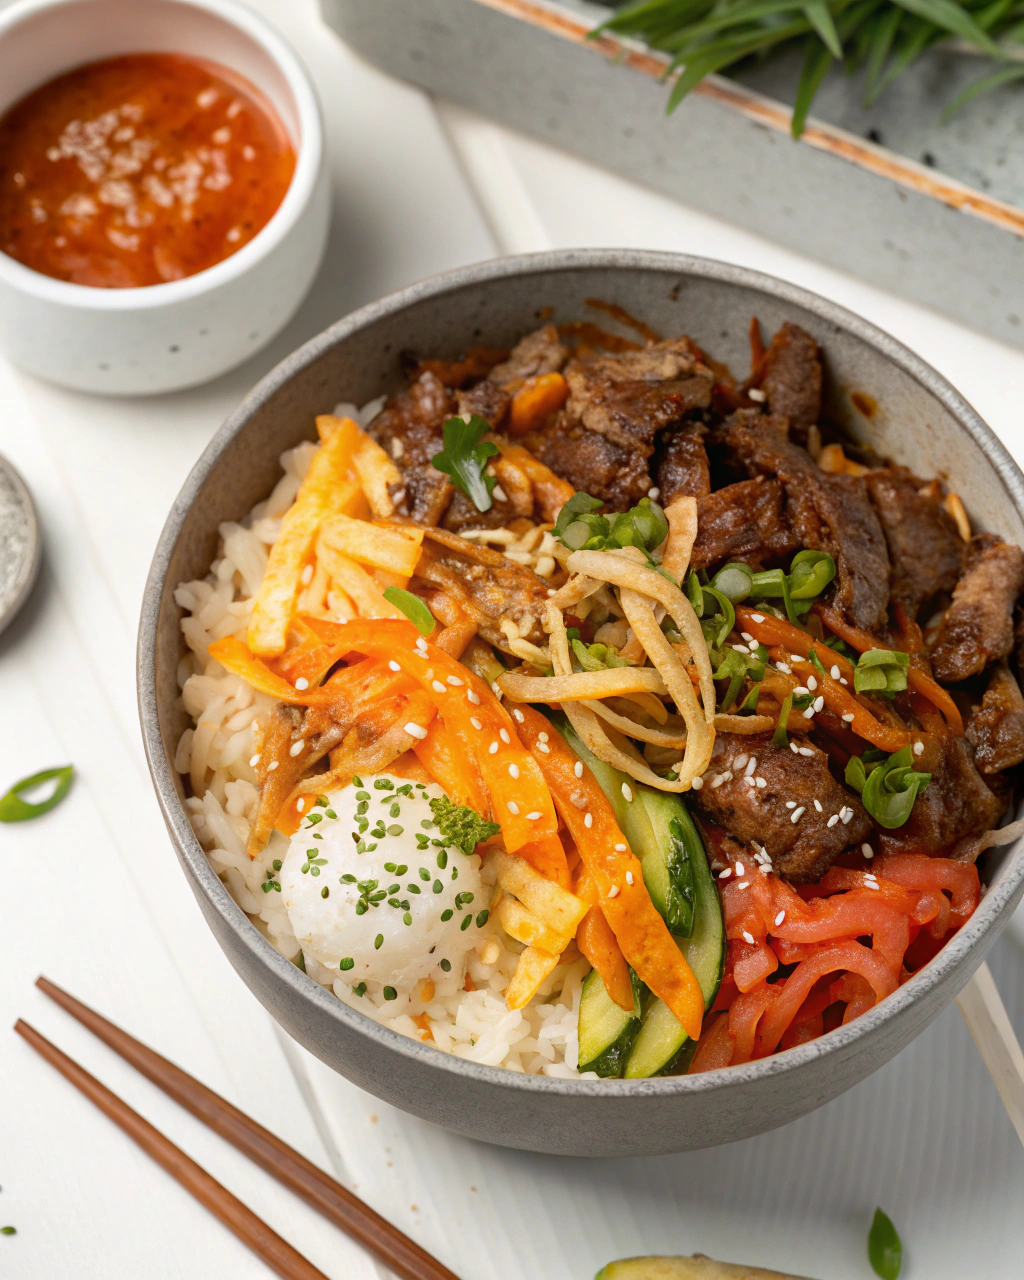
I pile this chicken on a big platter, scatter green onions and sesame seeds, and serve with crunchy pickled radish or coleslaw to cut the richness. It shines at game day, late-night snacks, or casual dinner with steamed rice and kimchi. Pair with a cold beer or a crisp soda — it feels like a party no matter the day.
Notes
- Store leftover chicken in an airtight container up to 3 days. Reheat at 400°F for 8–10 minutes in an oven or 5–7 minutes in an air fryer to re-crisp.
- Safe cooking temp for chicken: 165°F. Use an instant-read thermometer for peace of mind.
Final Thoughts
Closing: Go on — make this crunchy, saucy goodness and surprise your friends (or quietly eat the whole batch yourself). You’ve got this!

Hi, I’m Lina, the creator of Lina Easy Recipes.Cooking has always been my passion, and I love sharing simple, homemade dishes that anyone can prepare.
Love What You See?
Join me on Pinterest and Facebook for daily cooking inspiration, new recipe ideas, and behind-the-scenes kitchen stories. Let’s cook something wonderful together!


