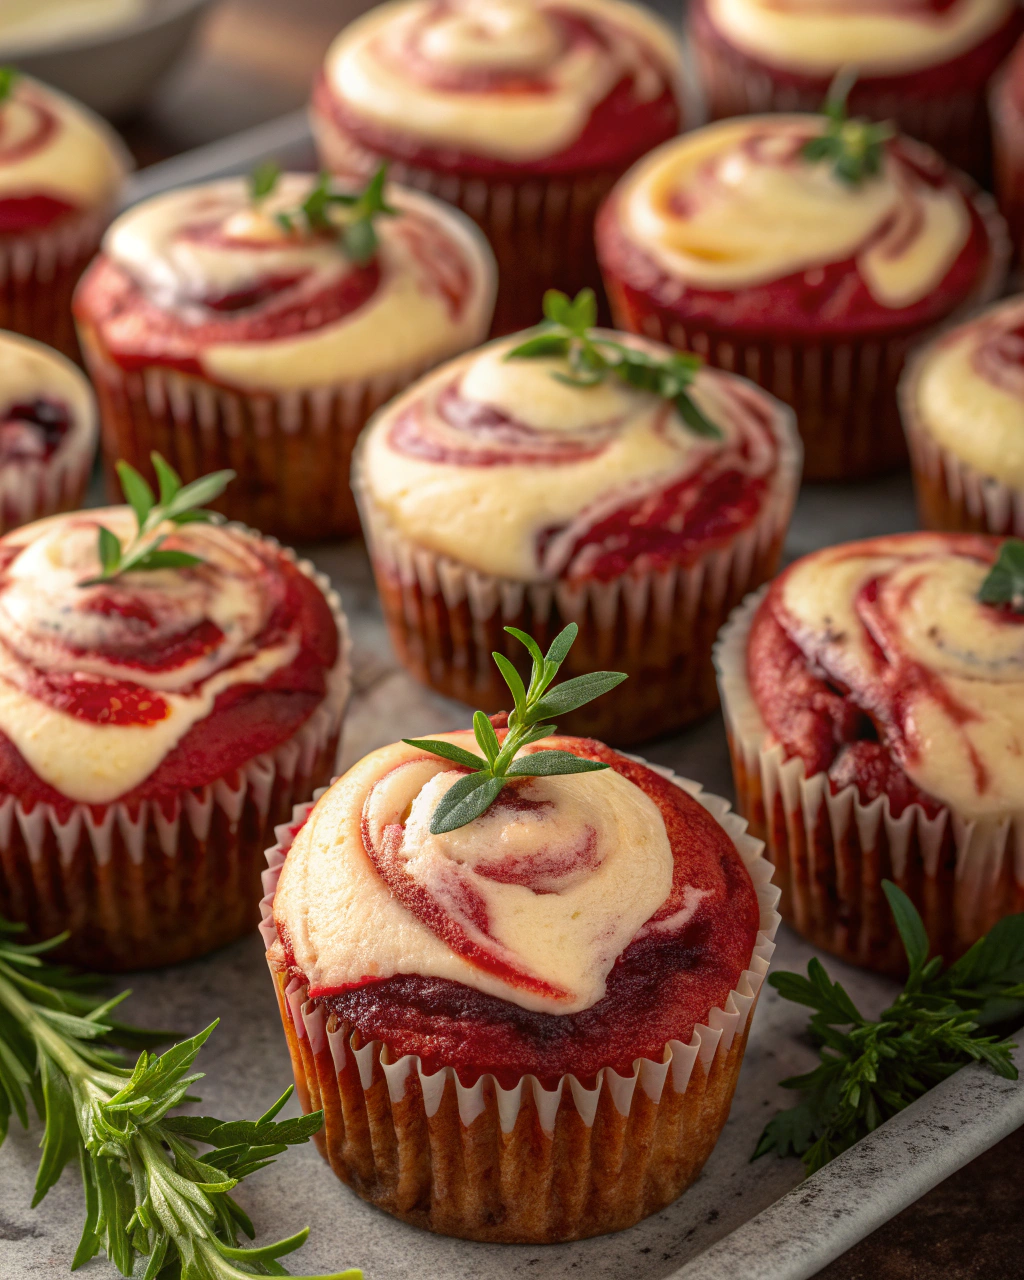
Okay, picture this: the classic charm of red velvet cake swirling together with the gentle, buttery simplicity of vanilla — all jam-packed into cute little cupcakes. If you’ve ever wanted both worlds in one bite, these Red Velvet Marble Cupcakes are the answer! I love how the rich, velvety red streaks peek through a soft vanilla crumb, creating a little edible masterpiece in every cupcake liner. Plus, they smell absolutely heavenly while baking; that subtle cocoa hint mixed with cream cheese frosting is basically kitchen magic. Don’t worry if you’re new to marbling—I’ll share my easy tips so your cupcakes come out beautifully swirled without any fuss. Ready to impress your friends or just treat yourself? Let’s dive in!
Quick Facts
Yield: Serves 12 cupcakes
Prep Time: 20 minutes
Cook Time: 18–22 minutes
Total Time: 40–45 minutes
Ingredients
For the Cupcakes:
1 ¼ cups all-purpose flour
1 tbsp unsweetened cocoa powder
½ tsp baking soda
½ tsp salt
½ cup unsalted butter, softened
1 cup granulated sugar
2 large eggs
1 tsp vanilla extract
½ cup buttermilk, room temperature
1 tbsp red food coloring
1 tsp white vinegar
For the Cream Cheese Frosting:
8 oz cream cheese, softened
½ cup unsalted butter, softened
3 cups powdered sugar, sifted
1 tsp vanilla extract
How I Make It
Step 1:
Preheat your oven to 350°F and line a 12-cup muffin tin with cupcake liners. In a medium bowl, whisk together the flour, cocoa powder, baking soda, and salt. This dry mix sets the base for the red velvet batter’s tender crumb.
Step 2:
In a large bowl, beat the softened butter and sugar until light and fluffy, about 3 minutes. I like using a hand mixer here; it really helps with a smooth texture. Then, add the eggs one at a time, making sure each is fully incorporated before adding the next.
Step 3:
Mix in the vanilla extract. Now, alternate adding the dry ingredients and the buttermilk to the butter mixture—start and end with the dry ingredients. Mix just until combined; overmixing will make cupcakes dense.
Step 4:
Remove about 1/3 of the batter and place it in a separate bowl. Stir in the red food coloring and vinegar—this is your red velvet portion. The vinegar reacts with the baking soda, giving the cupcakes their tender crumb and signature tang.
Step 5:
Time to marble! Spoon alternating dollops of the vanilla and red velvet batters into the cupcake liners, then gently swirl with a toothpick or skewer—just a few swirls to create beautiful patterns.
Step 6:
Bake for 18–22 minutes, or until a toothpick inserted in the center comes out clean. Let cupcakes cool completely before frosting. For the frosting, beat together softened cream cheese and butter until smooth, then gradually add powdered sugar and vanilla. Spread or pipe onto your cooled cupcakes.
Variations & Tips
Use gel food coloring for more vibrant red hues without adding extra liquid.
If you don’t have buttermilk, mix ½ cup milk with ½ tbsp lemon juice and let sit 5 minutes.
Wrap leftover cupcakes tightly to keep them moist for up to 3 days.
Try swapping half the cocoa powder for melted dark chocolate for a richer flavor.
Use a piping bag with a star tip for a fancier frosting finish.
If your frosting is too soft, chill it for 15 minutes before frosting again.
How I Like to Serve It
These cupcakes make a stunning centerpiece for Valentine’s Day or birthday parties—especially when paired with a cup of rich coffee or a glass of cold milk. They’re just as delightful to bring along as a cheerful homemade gift for friends or family. Anytime you want a treat that feels special without fuss, these marbled beauties do the trick!
Notes
Store cupcakes in an airtight container in the fridge for up to 4 days; bring to room temperature before serving.
If you want to freeze them, wrap individual cupcakes tightly and freeze up to 2 months; thaw overnight in the fridge.
Closing: There’s something truly comforting about the swirl of red velvet and vanilla in these cupcakes—they never fail to brighten any day or celebration.
Hi, I’m Lina, the creator of Lina Easy Recipes.Cooking has always been my passion, and I love sharing simple, homemade dishes that anyone can prepare.
Spread the love
Love What You See?
Join me on Pinterest and Facebook for daily cooking inspiration, new recipe ideas, and behind-the-scenes kitchen stories. Let’s cook something wonderful together!


 - spooky Halloween cupcake idea")


