Rice Krispie Pumpkins – fun Halloween rice krispie treat
Spread the love
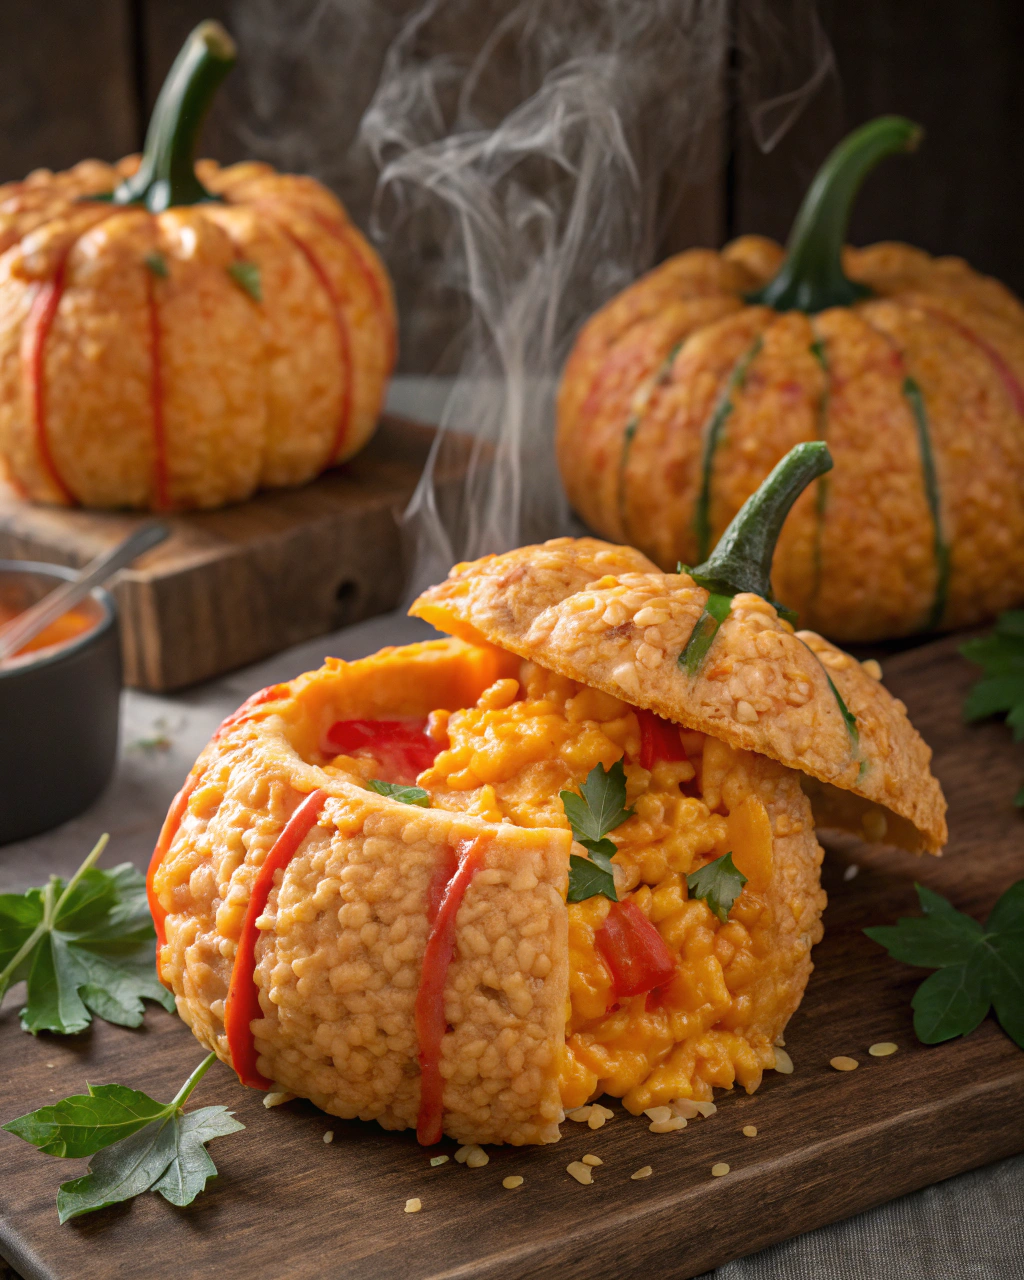
Rice Krispie Pumpkins – fun Halloween rice krispie treat
Okay, let me just say this right away: making Rice Krispie Pumpkins is like stepping into a candy-coated autumn dream. The smell of melted marshmallows mixing with butter instantly takes me back to Halloween parties where the only thing sweeter than the candy stash was the fun of shaping those little orange pumpkins by hand. These treats are delightfully squishy, sticky, and bursting with that nostalgic crunch you know and love. Plus, the bright orange color and those cute green stems make them the perfect spooky-but-sweet centerpiece for your Halloween spread. I can’t wait to show you how easy it is to whip these up and wow your guests (or just treat yourself) with some seasonal magic!
Quick Facts
Yield: Serves 8-10
Prep Time: 10 minutes
Cook Time: 5 minutes
Total Time: 15 minutes
Ingredients
For the Main Dish:
6 cups Rice Krispies cereal
3 tablespoons unsalted butter
10 ounces marshmallows (about 4 cups mini marshmallows)
Orange food coloring
Green candy melts or green frosting (for stems)
How I Make It
Step 1:
Start by melting the butter in a large pot over low heat. Once melted, toss in the marshmallows and stir gently until they’re completely melted and smooth. This is your gooey magic base, so keep stirring to avoid burning.
Step 2:
Remove from heat and immediately stir in a few drops of orange food coloring until you get that vibrant pumpkin hue. Then, fold in the Rice Krispies cereal until everything is well coated and sticky.
Step 3:
Lightly grease your hands with butter or cooking spray (this step is a lifesaver to stop the sticky fingers!) and scoop out about ½ cup of the mixture. Shape each scoop into a round ball, then gently pinch the sides to form a pumpkin shape. Don’t worry about getting it perfect—rustic is charming here.
Step 4:
Before the treats set completely, use a butter knife or the back of a fork to create shallow vertical grooves around each pumpkin, mimicking the ridges.
Step 5:
Melt the green candy melts according to package instructions, then dip a toothpick into the green and dot it onto the top center of each pumpkin to make little stems. If you don’t have candy melts, piping on green frosting works just as well!
Step 6:
Allow the pumpkins to set at room temperature for about 20 minutes. Once firm, enjoy your perfectly spooky, chewy, crispy treats!
Variations & Tips
Use mini chocolate chips or edible eyes for a fun “monster pumpkin” twist.
Substitute the Rice Krispies for a gluten-free puffed rice cereal if needed.
Add a pinch of cinnamon or pumpkin pie spice to the marshmallow mixture for a warm fall flavor.
If your mix is too sticky to shape, chill it in the fridge for 10 minutes before forming pumpkins.
Try dipping the bottom of the pumpkins in melted white chocolate for a fancy look.
Use pretzel sticks instead of candy melts for rustic pumpkin stems with a salty crunch.
How I Like to Serve It
These Rice Krispie Pumpkins are a showstopper at Halloween parties, especially paired with a warm cup of apple cider or hot chocolate. They’re also perfect little grab-and-go treats for school parties or just a cozy night at home watching spooky movies. Kids love helping make them, so consider this a fantastic afternoon activity that ends with a delicious reward!
Notes
Store leftovers in an airtight container at room temperature for up to 3 days to keep them chewy and fresh.
If your pumpkins harden too much, microwave them in 5-second bursts to soften before enjoying again.
Closing: These Rice Krispie Pumpkins are an easy, charming way to bring a bit of hands-on fun and festive flavor to your Halloween—every batch turns out to be pure autumn joy!
Hi, I’m Lina, the creator of Lina Easy Recipes.Cooking has always been my passion, and I love sharing simple, homemade dishes that anyone can prepare.
Spread the love
Love What You See?
Join me on Pinterest and Facebook for daily cooking inspiration, new recipe ideas, and behind-the-scenes kitchen stories. Let’s cook something wonderful together!


 - spooky Halloween popcorn snack")