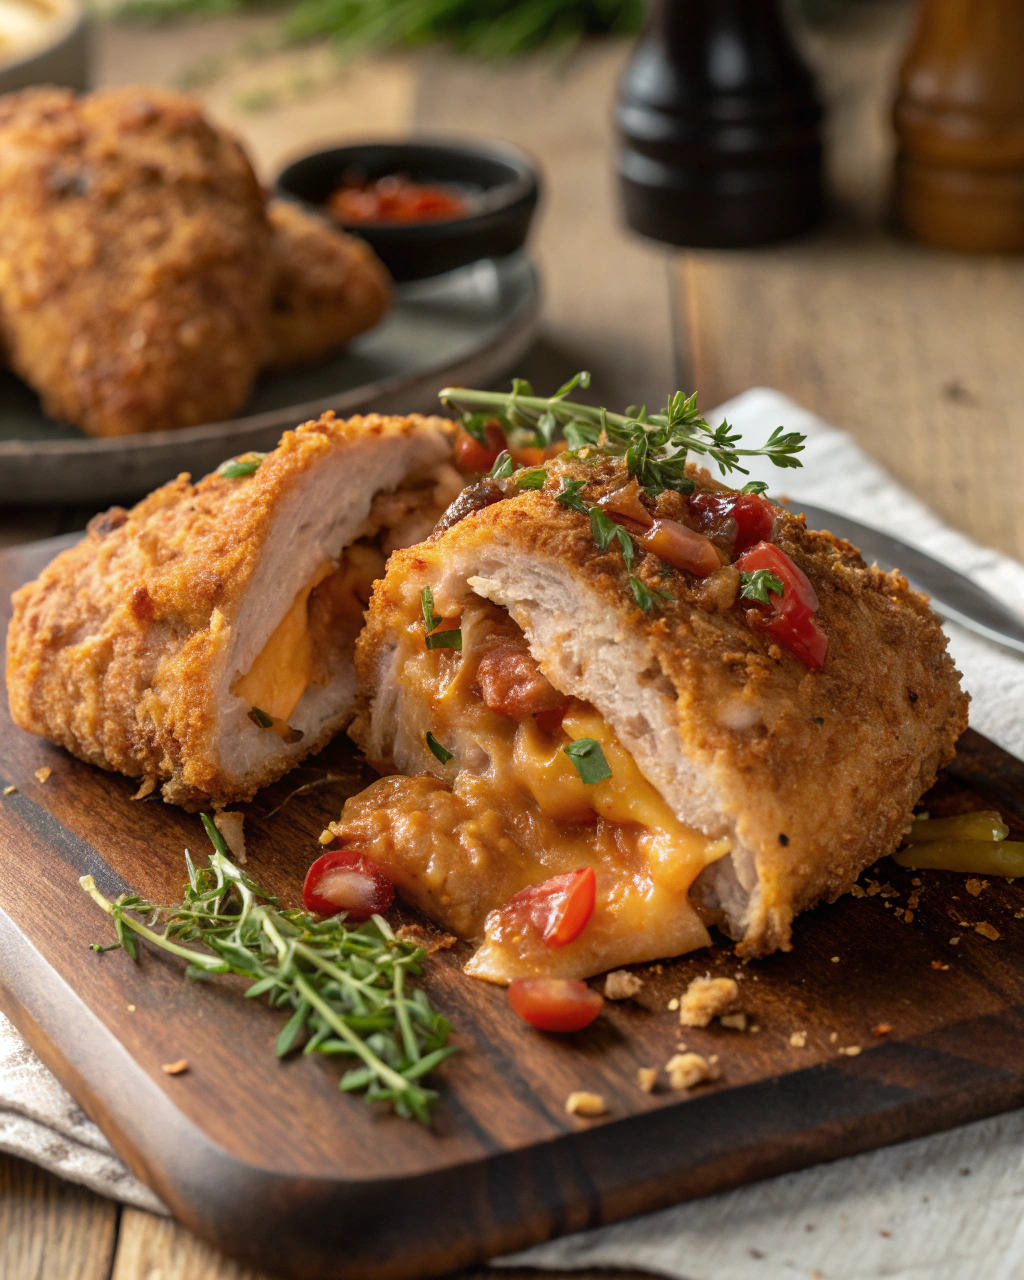
Okay, picture this: I once tried to cook fried chicken to impress my in-laws and ended up with a smoke alarm duet and slightly singed eyebrows — but also the crispiest, most ridiculous chicken I’ve ever made. I learned fast: a good fry needs confidence, patience, and the right coating. This recipe keeps things simple — no weird powders or long brines — just straightforward ingredients that crisp to a golden, crackly finish while the inside stays juicy and tender. If you like crunchy edges that snap when you bite in, a little peppery heat, and the smell of hot oil that somehow screams “come to the table now,” you’re in the right place.
Quick Facts
- Yield: Serves 4
- Prep Time: 40 minutes (includes a quick soak)
- Cook Time: 20 minutes
- Total Time: 60 minutes
Why This Recipe is Awesome
This fried chicken hits that magical balance of a super-crispy exterior and a juicy, well-seasoned interior. It’s comfort food with personality — crunchy, golden-brown pieces that smell like summer fairs and backyard BBQs. Plus, it’s forgiving: simple steps and pantry-friendly ingredients mean even a weeknight can become a crispy celebration. Who doesn’t love a crunchy edge that sings under your teeth?
Ingredients
For the Main Dish:
- 3 lbs bone-in chicken pieces (thighs and drumsticks work best)
- 1 1/2 cups all-purpose flour
- 1/2 cup cornstarch (for extra crisp)
- 1 tbsp kosher salt, plus 1 tsp for the flour mix
- 1 tsp black pepper
- 1 tbsp smoked paprika
- 1 tsp garlic powder
- 1 tsp onion powder
- 1/2 tsp cayenne pepper (optional — adjust to taste)
- 1 1/4 cups buttermilk (or 1 cup milk + 2 tbsp lemon juice, rested 5 min)
- 1 large egg
- 1 tbsp hot sauce (optional, adds tang)
- Vegetable or peanut oil for frying (about 4–6 cups, depending on pan)
For the Sauce / Garnish (if applicable):
- 2 tbsp melted butter or olive oil (for brushing, optional)
- Fresh parsley, chopped, for garnish
- Lemon wedges for serving
How I Make It
Step 1:
Pat the chicken dry with paper towels. In a bowl, whisk together 1 1/4 cups buttermilk, 1 large egg, and 1 tbsp hot sauce if using. Add the chicken, toss to coat, and let it soak for at least 30 minutes at room temperature or up to 4 hours in the fridge. This softens the meat and adds flavor. Tip: if you forget to soak, even 15 minutes helps — but don’t skip patting dry before dredging.
Step 2:
In a wide, shallow dish, combine 1 1/2 cups flour, 1/2 cup cornstarch, 1 tbsp kosher salt, 1 tsp black pepper, 1 tbsp smoked paprika, 1 tsp garlic powder, 1 tsp onion powder, and 1/2 tsp cayenne. Mix well. Remove chicken from the buttermilk, let excess drip off, and press each piece firmly into the flour mix so a good crust forms. Shake off loose flour.
Step 3:
Heat oil in a heavy skillet or Dutch oven over medium-high heat until it reaches 350–375°F. Use a thermometer — it makes everything easier. Carefully lower pieces into the oil, skin-side down first, and don’t crowd the pan (work in batches). You should hear an energetic sizzle; if it fizzes too wildly, reduce the heat.
Step 4:
Fry each piece for about 12–15 minutes, turning once halfway through, until the crust turns deeply golden and the juices run clear. Look for that satisfying crackle and deep golden color. A skillet will crisp the edges; a deeper pot gives even browning. For safety and doneness, the internal temperature should read 165°F at the thickest part.
Step 5:
Transfer chicken to a wire rack set over a baking sheet to drain and rest for 5 minutes; this keeps the crust crunchy. Brush with 2 tbsp melted butter if you love richness, and scatter chopped parsley and lemon wedges. Serve hot and listen to the chorus of happy crunches.
Pro Tips
- Use a thermometer to keep oil at 350–375°F. Too hot burns the crust; too cool makes greasy chicken.
- Don’t skip the cornstarch — it gives that extra shatter to the crust.
- Dry the chicken thoroughly before dredging for the crispiest finish. Moisture fights crispness.
- If the crust browns too fast, lower the heat and cover briefly to finish cooking through without burning.
Common Mistakes to Avoid
- Skipping preheating: Classic rookie move. It changes texture and bake time.
- Overmixing: Leads to dense or chewy results. Mix until just combined.
- Guessing cook time: Always use visual cues or a timer, not just vibes.
- Overcrowding pans: Give your food some breathing room to crisp properly.
Alternatives & Substitutions
- Want a lighter option? Use boneless, skinless chicken breasts cut into strips — reduce cook time to 8–10 minutes.
- For dairy-free: swap buttermilk with 1 cup unsweetened almond or soy milk + 1 tbsp vinegar and skip the melted butter brush.
- Gluten-free: use a 1:1 gluten-free flour blend and a bit more cornstarch to keep crisp.
- Vegetarian swap: use extra-firm tofu, press it, and follow the same dredge and fry method; fry time drops to 3–5 minutes per side.
Variations & Tips
- Spicy Nashville-style: add 1 tbsp cayenne + a drizzle of cayenne-butter after frying.
- Herbed crust: mix chopped fresh rosemary and thyme into the flour mix for a fragrant twist.
- Buttermilk-brined: brine overnight in a salt-and-sugar mix for deeper flavor and extra tenderness.
- Kid-friendly: omit the cayenne and serve with honey or ketchup for dipping.
- Creative twist: toss hot fried pieces in a honey-sesame glaze for sweet-heat popcorn-chicken vibes.
FAQ (Frequently Asked Questions)
- Can I make this ahead of time?
- Yes! You can dredge and refrigerate the chicken for up to 24 hours; fry when ready. For fully cooked leftovers, store in an airtight container and reheat in a 375°F oven on a rack to re-crisp the skin.
- Can I double the recipe?
- Sure thing. Fry in batches and keep finished pieces warm on a rack in a 200°F oven. Don’t crowd the pan — that’s the real timing adjustment.
- Can I substitute butter with oil?
- Technically yes, but you’ll miss that buttery magic. Use ¾ the amount of oil if swapping for melted butter in the finishing brush.
- How do I know it’s done?
- Look for deep golden-brown color, a crisp crust that flakes when you tap it, and juices that run clear. For safety, check internal temp: chicken should reach 165°F.
- What if I don’t have ingredient X?
- Flour substitutes: use whole-wheat flour (slightly denser crust) or a gluten-free blend. No buttermilk? Mix milk with lemon juice or use yogurt thinned with milk.
How I Like to Serve It
I serve this fried chicken with creamy mashed potatoes, tangy coleslaw, and buttery biscuits for a classic spread. For summer BBQs, pile it on a platter with pickles, watermelon, and an ice-cold lemonade. It also shines in a sandwich with slaw and a drizzle of hot honey — perfect for game day or an indulgent weeknight.
Notes
- Store leftovers in the fridge for up to 3 days; reheat in a 375°F oven to keep the crust crisp.
- Safe cooking temp for chicken: 165°F at the thickest part.
Final Thoughts
Closing: Now go impress someone — or just yourself — with your homemade masterpiece! Keep the napkins ready and the fridge stocked with cold drinks.

Hi, I’m Lina, the creator of Lina Easy Recipes.Cooking has always been my passion, and I love sharing simple, homemade dishes that anyone can prepare.
Love What You See?
Join me on Pinterest and Facebook for daily cooking inspiration, new recipe ideas, and behind-the-scenes kitchen stories. Let’s cook something wonderful together!

