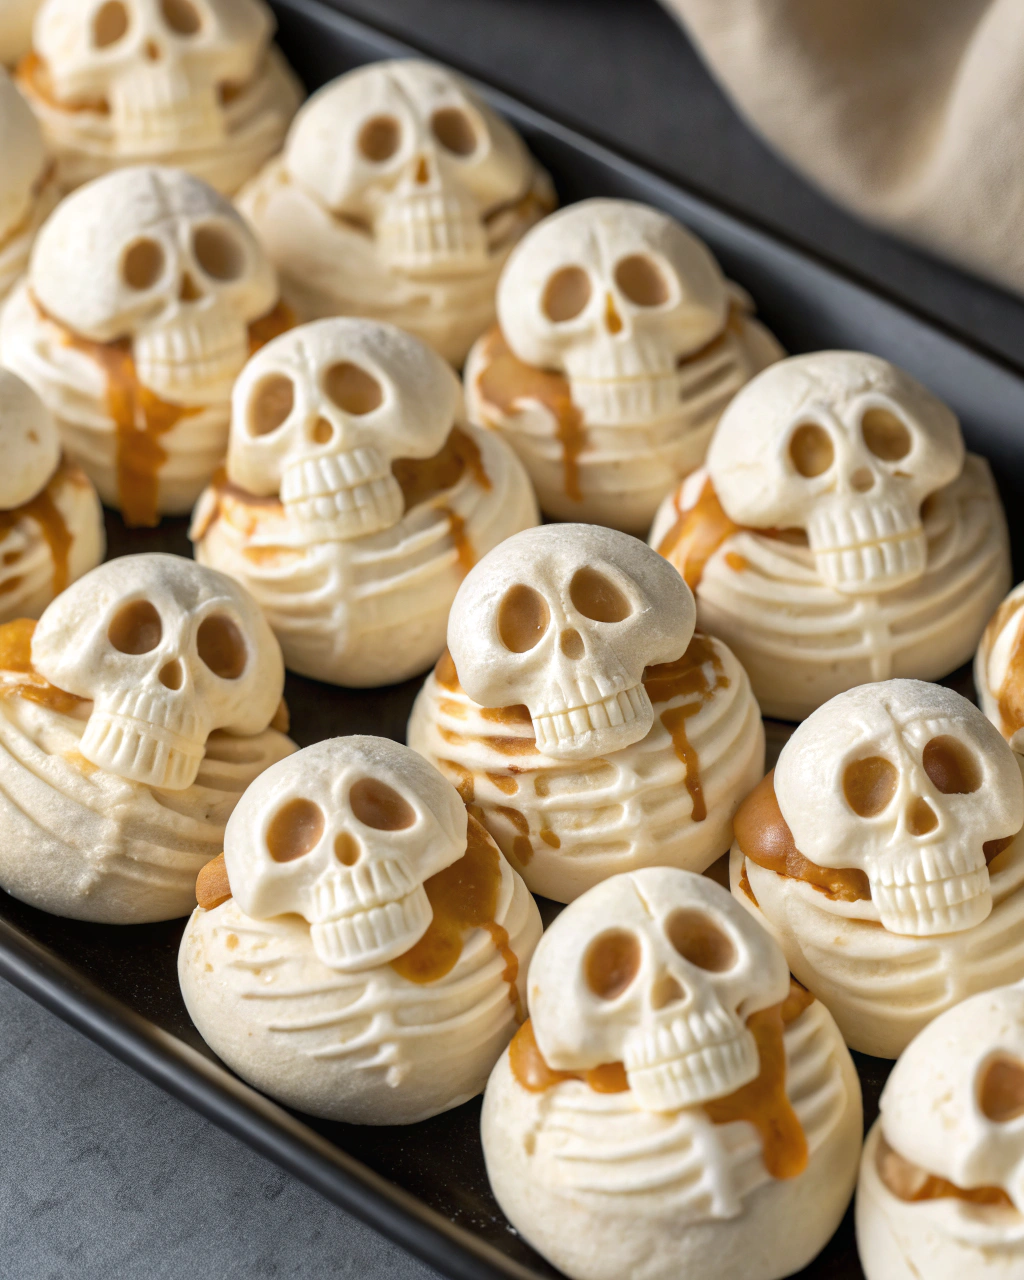
Skeleton Bone Meringues – light and spooky Halloween meringue cookies
Spread the love
Skeleton Bone Meringues – light and spooky Halloween meringue cookies
Okay, you’re going to love this one—because who doesn’t want to snack on a little Halloween mischief? These Skeleton Bone Meringues are like biting into a crunchy cloud that happens to look totally spooky and fun. I mean, where else can you get away with eating “bones” that are sweet, airy, and practically melt in your mouth? Plus, the crisp white shape against a backdrop of orange pumpkins? Perfection. I’m excited to show you how easy it is to whip these up, even if you’ve never made meringue before. Trust me, these cookies are a delightful mix of eerie and elegant that’ll impress everyone at your Halloween get-together!
Quick Facts
Yield: About 20–24 bones
Prep Time: 20 minutes
Cook Time: 1 hour 15 minutes
Total Time: 1 hour 35 minutes
Ingredients
For the Main Dish:
4 large egg whites, at room temperature
1 cup granulated sugar
1/4 teaspoon cream of tartar
1/2 teaspoon vanilla extract
A pinch of salt
How I Make It
Step 1:
Start by preheating your oven to 225°F and lining two baking sheets with parchment paper. Then, in a completely clean bowl, I begin beating the 4 egg whites on medium speed until they’re foamy and frothy—this means they’re just starting to wake up.
Step 2:
Add in the cream of tartar and a small pinch of salt. These help stabilize your meringue, making it hold that beautiful shape. Then, start slowly adding the granulated sugar one tablespoon at a time, beating well after each addition so it dissolves smoothly.
Step 3:
Keep whipping until the meringue forms stiff, glossy peaks. You’ll know it’s ready when you can lift the beaters and the peaks stand tall without drooping. Stir in the vanilla extract gently by hand.
Step 4:
Time to shape the bones! Spoon the meringue into a piping bag fitted with a medium round tip. Pipe elongated “bones” with rounded ends and add little circles along the edges for that classic skeleton look. Keep your designs about 3 inches long for easy baking.
Step 5:
Bake the meringues at 225°F for about 1 hour to 1 hour and 15 minutes. They should feel dry and crisp on the outside but be careful not to let them brown — we want pure white skeletons!
Step 6:
Turn off the oven and leave the meringues inside to cool completely—this step helps prevent cracks and ensures they’re perfectly crisp. Once cool, gently peel them off the parchment and admire your spooky treat!
Variations & Tips
For a fun twist, add a few drops of black food coloring to create “cracks” or “veins” on your bones with a toothpick.
Swap vanilla extract for almond extract to give a nutty aroma.
If you don’t have cream of tartar, lemon juice works as a stabilizer too—about 1/2 teaspoon.
Make mini bone meringues for bite-sized party favors or decorations.
If you notice your meringue isn’t glossy, make sure no yolk sneaked into your whites and that your bowl and beaters are grease-free.
How I Like to Serve It
I love placing these delicate bone-shaped meringues on a dark serving platter with bright orange pumpkin candies or fresh blackberries—adds a perfect Halloween vibe. They’re also fantastic alongside a mug of hot cocoa or mulled cider, where the sweet crunch pairs beautifully with warm, spicy drinks. Pop some in a clear jar with a ribbon, and they make adorable spooky gifts for friends and neighbors!
Notes
Store in an airtight container at room temperature to keep them crisp for up to 5 days.
Do not refrigerate or they’ll absorb moisture and get chewy.
Closing: These Skeleton Bone Meringues bring lightness and fun to your Halloween treats—and I promise, their sweet crunch will keep you coming back for just one more!
Hi, I’m Lina, the creator of Lina Easy Recipes.Cooking has always been my passion, and I love sharing simple, homemade dishes that anyone can prepare.
Spread the love
Love What You See?
Join me on Pinterest and Facebook for daily cooking inspiration, new recipe ideas, and behind-the-scenes kitchen stories. Let’s cook something wonderful together!


 - spooky Halloween chicken wings")


