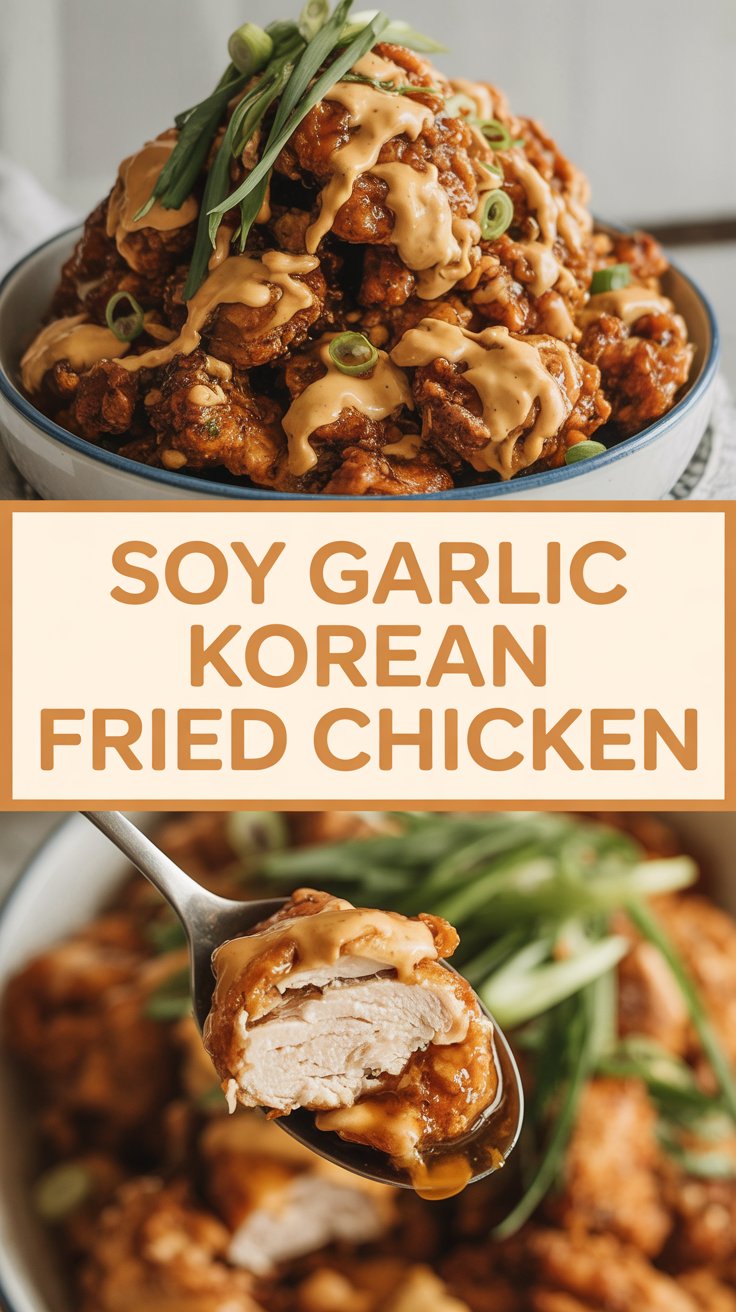
My grandmother kept a battered little wok that only came out for special occasions, and the whole house smelled like garlic, soy, and something sweet and sticky that made the dog sit politely at the door. I still hear the sizzle when she dropped battered chicken into hot oil — that sharp pop and the scent that promised crispy edges. This Soy Garlic Korean Fried Chicken with Scallions grew from those evenings: a happy, slightly chaotic routine of double-frying small pieces of chicken, tossing them in a glossy sauce, and stealing a piece before anyone else noticed. I’ll show you the simple, foolproof steps to get that same crunchy exterior, juicy center, and sticky-sweet umami glaze at home.
Quick Facts
Yield: Serves 4
Prep Time:20 minutes
Cook Time:25 minutes
Total Time:45 minutes
Why This Recipe is Awesome
This recipe gives you ultra-crisp chicken with a glossy, garlicky-sweet soy glaze that clings to every crunchy ridge. It hits salty, sweet, and a touch of heat (if you want it) and keeps the inside juicy — no leathery bites here. It’s delightfully addictive, and honestly, it’s so easy even your takeout-app will feel jealous.
Ingredients
For the Main Dish:
2 lbs chicken wings and drumettes, tips removed
1 cup buttermilk (or 1 cup milk + 1 tbsp lemon juice, sit 5 minutes)
1 tsp kosher salt
½ tsp black pepper
1 cup all-purpose flour
¾ cup cornstarch
1 tsp garlic powder
1 tsp onion powder
Vegetable oil for frying (about 6 cups depending on pot size)
For the Soy-Garlic Sauce & Garnish:
¼ cup low-sodium soy sauce
3 tbsp honey
2 tbsp brown sugar, packed
2 tbsp rice vinegar
2 tbsp water
1 tbsp sesame oil
1 tbsp gochujang (optional for heat)
6 cloves garlic, finely minced
1 tsp grated fresh ginger (optional)
1 tbsp cornstarch + 1 tbsp water (slurry)
3 scallions, thinly sliced (for garnish)
1 tsp toasted sesame seeds (optional)
How I Make It
Step 1:
Pat the chicken dry with paper towels. Toss the pieces in a bowl with the buttermilk, 1 tsp kosher salt, and ½ tsp black pepper. Let it sit for at least 10 minutes while you prep the dredge. The buttermilk softens the meat and adds tang; it smells fresh and slightly tangy. If you forget to marinate, don’t panic — even a quick soak helps.
Step 2:
In a shallow bowl, whisk together the 1 cup flour, ¾ cup cornstarch, 1 tsp garlic powder, and 1 tsp onion powder. Working in batches, lift each chicken piece from the buttermilk, let excess drip off, and coat thoroughly in the dry mix. Press the coating on so it sticks — this extra adhesion gives you that shatter-crisp crust.
Step 3:
Heat oil in a heavy pot to 350°F (use a thermometer — I trust visual cues, but a probe keeps you safe). Fry the chicken in batches so the oil temperature drops minimally; aim for 6–8 minutes per batch until the exterior turns deep golden and the juices run clear. You’ll hear a lively sizzle and see tiny bubbles racing around the chicken. Remove to a rack (not paper towels) to keep the crust crisp.
Step 4:
For maximum crunch, return the chicken to the oil at 375°F and fry for an extra 1–2 minutes to blister the crust and finish cooking. That second fry gives you that satisfying shatter when you bite in. Check internal temperature — chicken should read 165°F at the thickest part.
Step 5:
While the chicken rests, make the sauce. In a skillet over medium heat, warm 1 tbsp sesame oil, then add the minced garlic and grated ginger. Sauté until fragrant — about 30 seconds — and your kitchen will smell irresistible (sharp garlic, warm ginger, sweet undertones). Add ¼ cup soy sauce, 3 tbsp honey, 2 tbsp brown sugar, 2 tbsp rice vinegar, and 2 tbsp water. Stir and simmer for 1–2 minutes, then whisk in the cornstarch slurry until it thickens into a glossy glaze. Toss the fried chicken in the sauce in the skillet so every ridge gets coated, then scatter the sliced scallions and sesame seeds on top.
Pro Tips
Use a thermometer and keep the oil between 350°F–375°F. Too cool makes greasy chicken; too hot burns the crust.
Double-fry for crispier results — the first fry cooks through, the second crisps. Trust me, the extra minute transforms the texture.
Want less sugar? Swap half the honey for 2 tbsp brown rice syrup or reduce honey by 1 tbsp — the flavor stays bold.
If your sauce gets too thick, stir in 1 tbsp warm water at a time until it loosens. You want shiny, clingy sauce, not a gummy paste.
Common Mistakes to Avoid
Skipping preheating: Classic rookie move. It changes texture and bake time.
Overmixing: Leads to dense or chewy results. Mix until just combined.
Guessing cook time: Always use visual cues or a timer, not just vibes.
Overcrowding pans: Give your food some breathing room to crisp properly.
Alternatives & Substitutions
Chicken ↔ tofu: Use extra-firm tofu, press out moisture, coat the same way and pan-fry until golden. Texture gets chewier but delicious.
All-purpose flour ↔ gluten-free flour blend: Use a 1:1 GF blend and keep cornstarch; the crust stays crisp. This makes the recipe gluten-free.
Buttermilk ↔ plain Greek yogurt thinned with water: Same tang, slightly thicker marinade. Use ¾ cup yogurt + ¼ cup water.
Honey ↔ maple syrup or agave for a vegan-ish glaze; flavor shifts slightly sweeter and less floral.
Variations & Tips
Spicy: Add 1–2 tsp gochujang to the sauce for heat and color.
Kid-friendly: Reduce sugar slightly and skip gochujang; keep sauce mild but glossy.
Sticky Sesame: Add 2 tbsp toasted sesame oil to the finished sauce for extra nuttiness.
Herby Twist: Toss finished chicken with thinly sliced cilantro and lime zest for a fresh pop.
Crunch Upgrade: Sprinkle crushed roasted peanuts or fried garlic chips on top for texture contrast.
Oven-fried option: Air-fry at 400°F for 20–25 minutes, flipping halfway, but expect slightly less shatter-crisp than deep frying.
FAQ (Frequently Asked Questions)
Can I make this ahead of time?
Yes! Fry the chicken and store it, un-sauced, in an airtight container in the fridge for up to 24 hours. Reheat in a 400°F oven for 8–10 minutes to crisp, then toss in freshly made sauce.
Can I double the recipe?
Sure thing. Use a wider pot or fry in more batches to avoid overcrowding. Double the sauce in a larger skillet so you can toss efficiently.
Can I substitute butter with oil?
Technically yes, but you’ll miss that buttery magic. Use ¾ the amount of oil if replacing butter in a sauce or finishing step.
How do I know it’s done?
Look for a deep golden crust and an internal temperature of 165°F. The juices should run clear and the meat should feel springy and juicy, not rubbery.
What if I don’t have ingredient X?
Out of rice vinegar? Use apple cider vinegar or a squeeze of lemon (about 1 tbsp) instead. No cornstarch? Use arrowroot or add a little extra flour and cook the sauce a touch longer to thicken.
How I Like to Serve It
I love this chicken piled high on a platter with extra scallions and sesame seeds, a side of cold cucumber salad, and steamed rice. It makes a killer game-day snack, a cozy weeknight treat, or a party shareable. Pair it with an ice-cold lager or a bright citrusy soda to cut the richness.
Notes
Store leftover chicken in the fridge up to 3 days. Reheat in a hot oven (400°F) to crisp the crust back up.
Safe cooking temperature for chicken: 165°F internal.
Final Thoughts
Closing: Now go impress someone — or just yourself — with your homemade masterpiece! One bite and you’ll hear that satisfying crunch; I won’t tell if you eat the first piece standing by the stove.
Hi, I’m Lina, the creator of Lina Easy Recipes.Cooking has always been my passion, and I love sharing simple, homemade dishes that anyone can prepare.
Spread the love
Love What You See?
Join me on Pinterest and Facebook for daily cooking inspiration, new recipe ideas, and behind-the-scenes kitchen stories. Let’s cook something wonderful together!